

Table of Contents
Locations are the venues where your classes take place. Parents use these details to find the right venue, so you can add as many as your club needs.
Adding a location #
Step 1: Open the Locations step (0:00) #
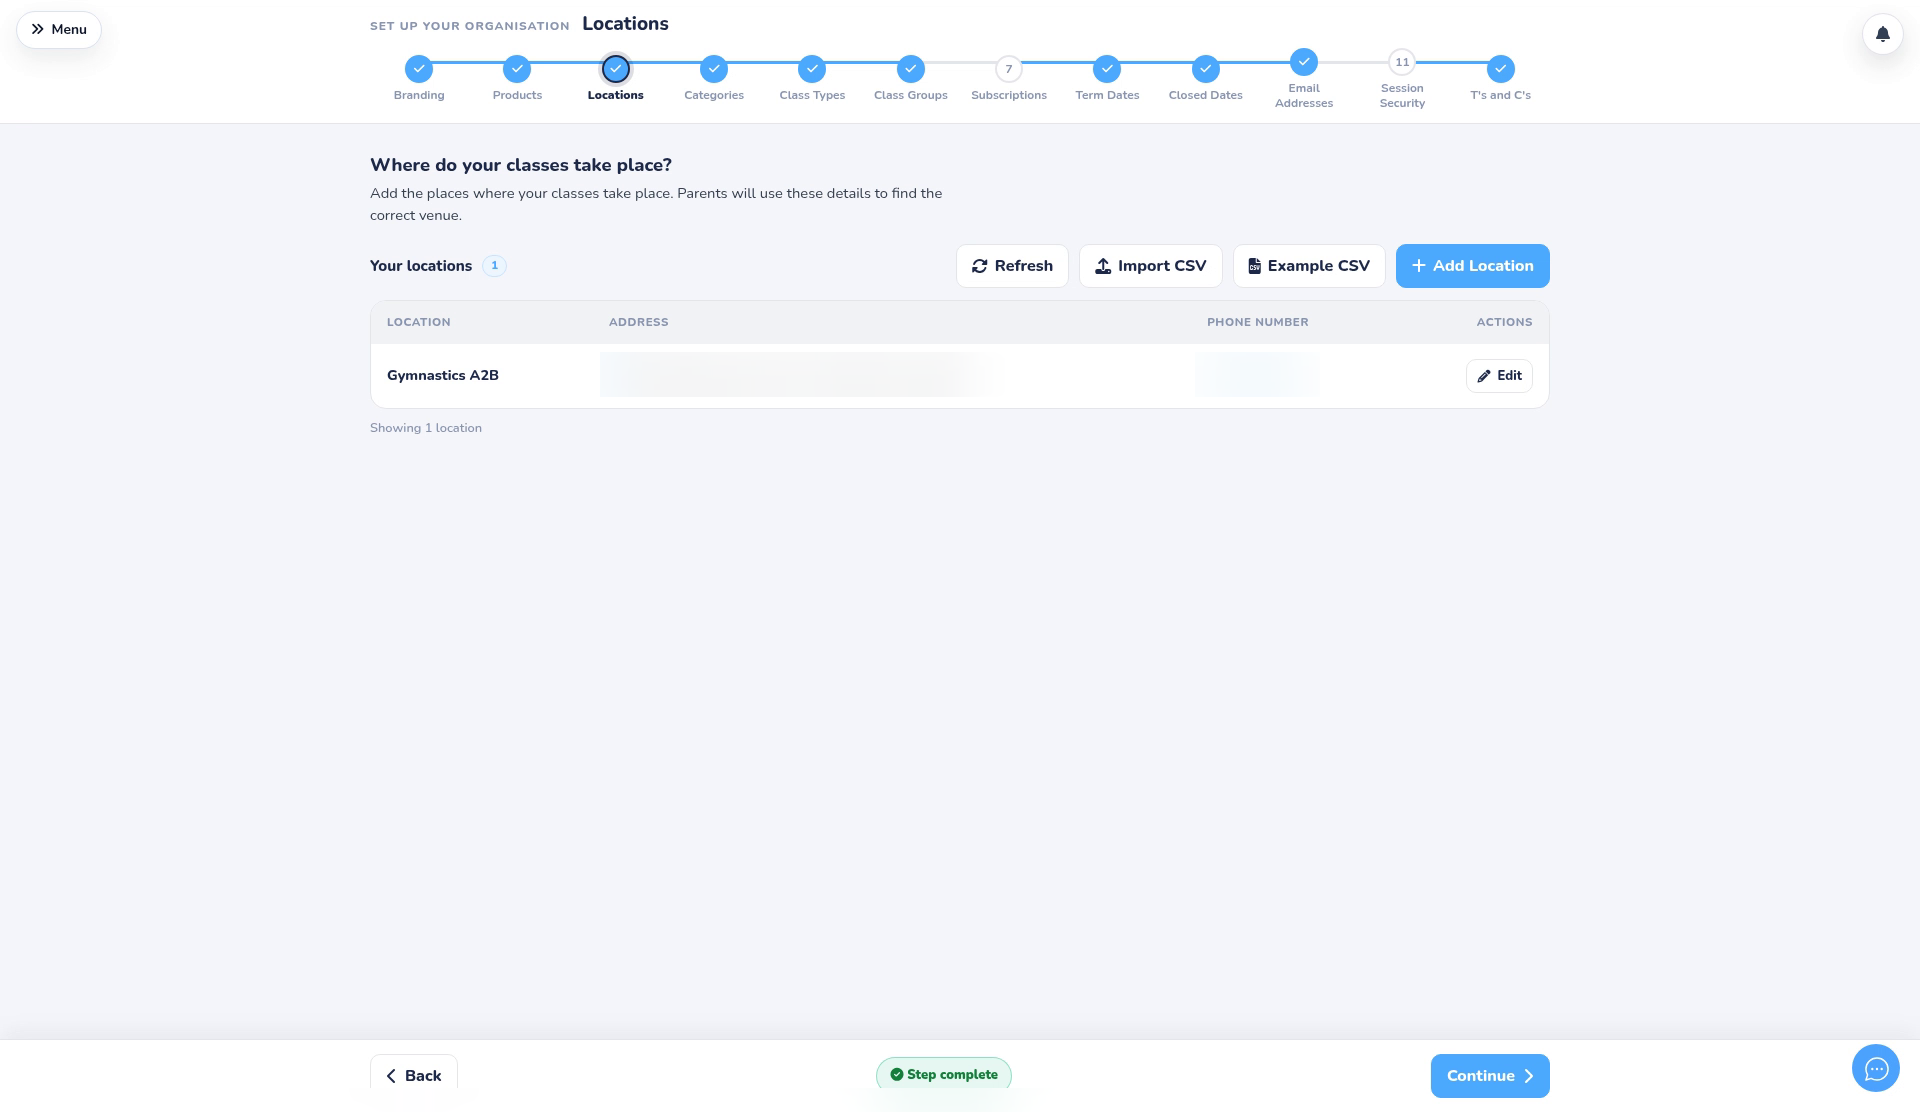
- Open the Setup Wizard and go to the Locations step (“Where do your classes take place?”). Your venues are listed with their address and phone number.
Step 2: Add the name (0:12) #
- Click Add Location.
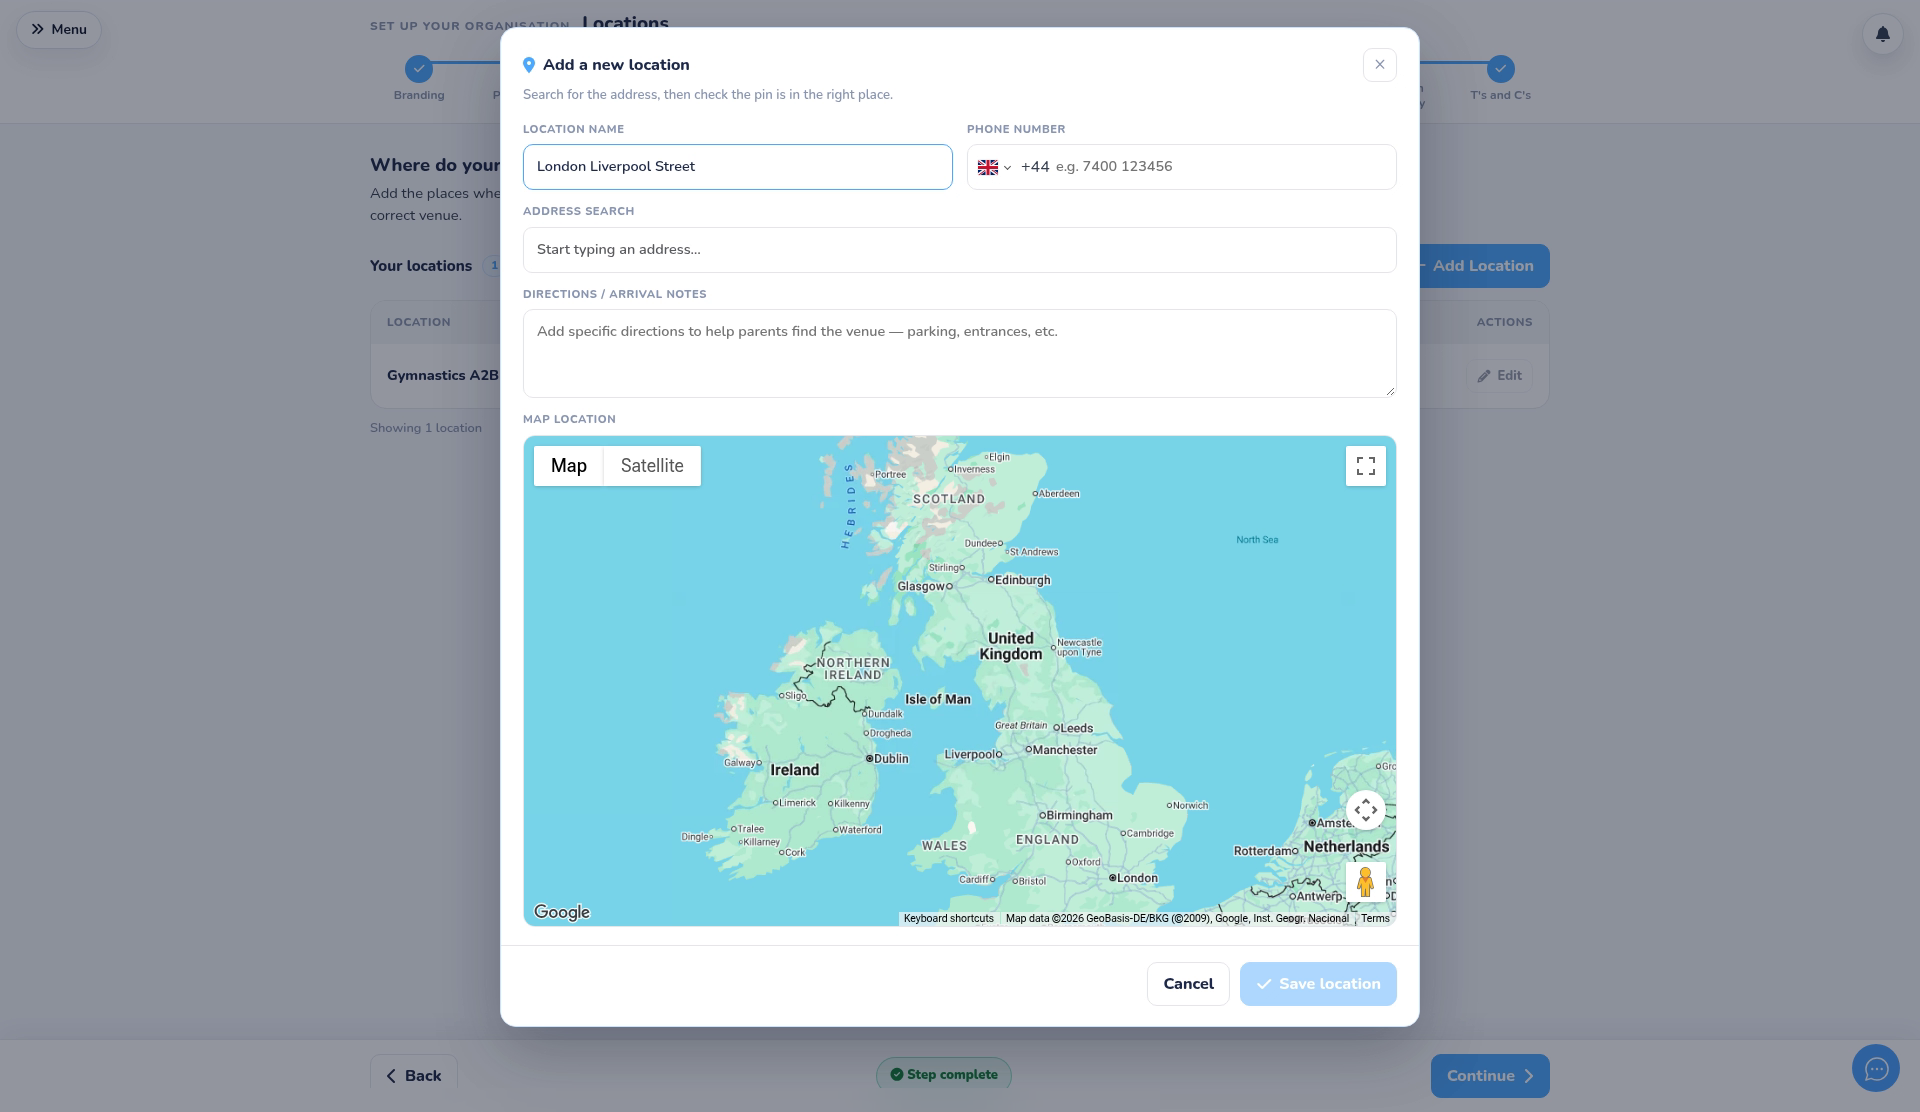
- Enter the Location name, for example London Liverpool Street.
- Add a Phone number if you’d like parents to have one.
Step 3: Find the address (0:37) #
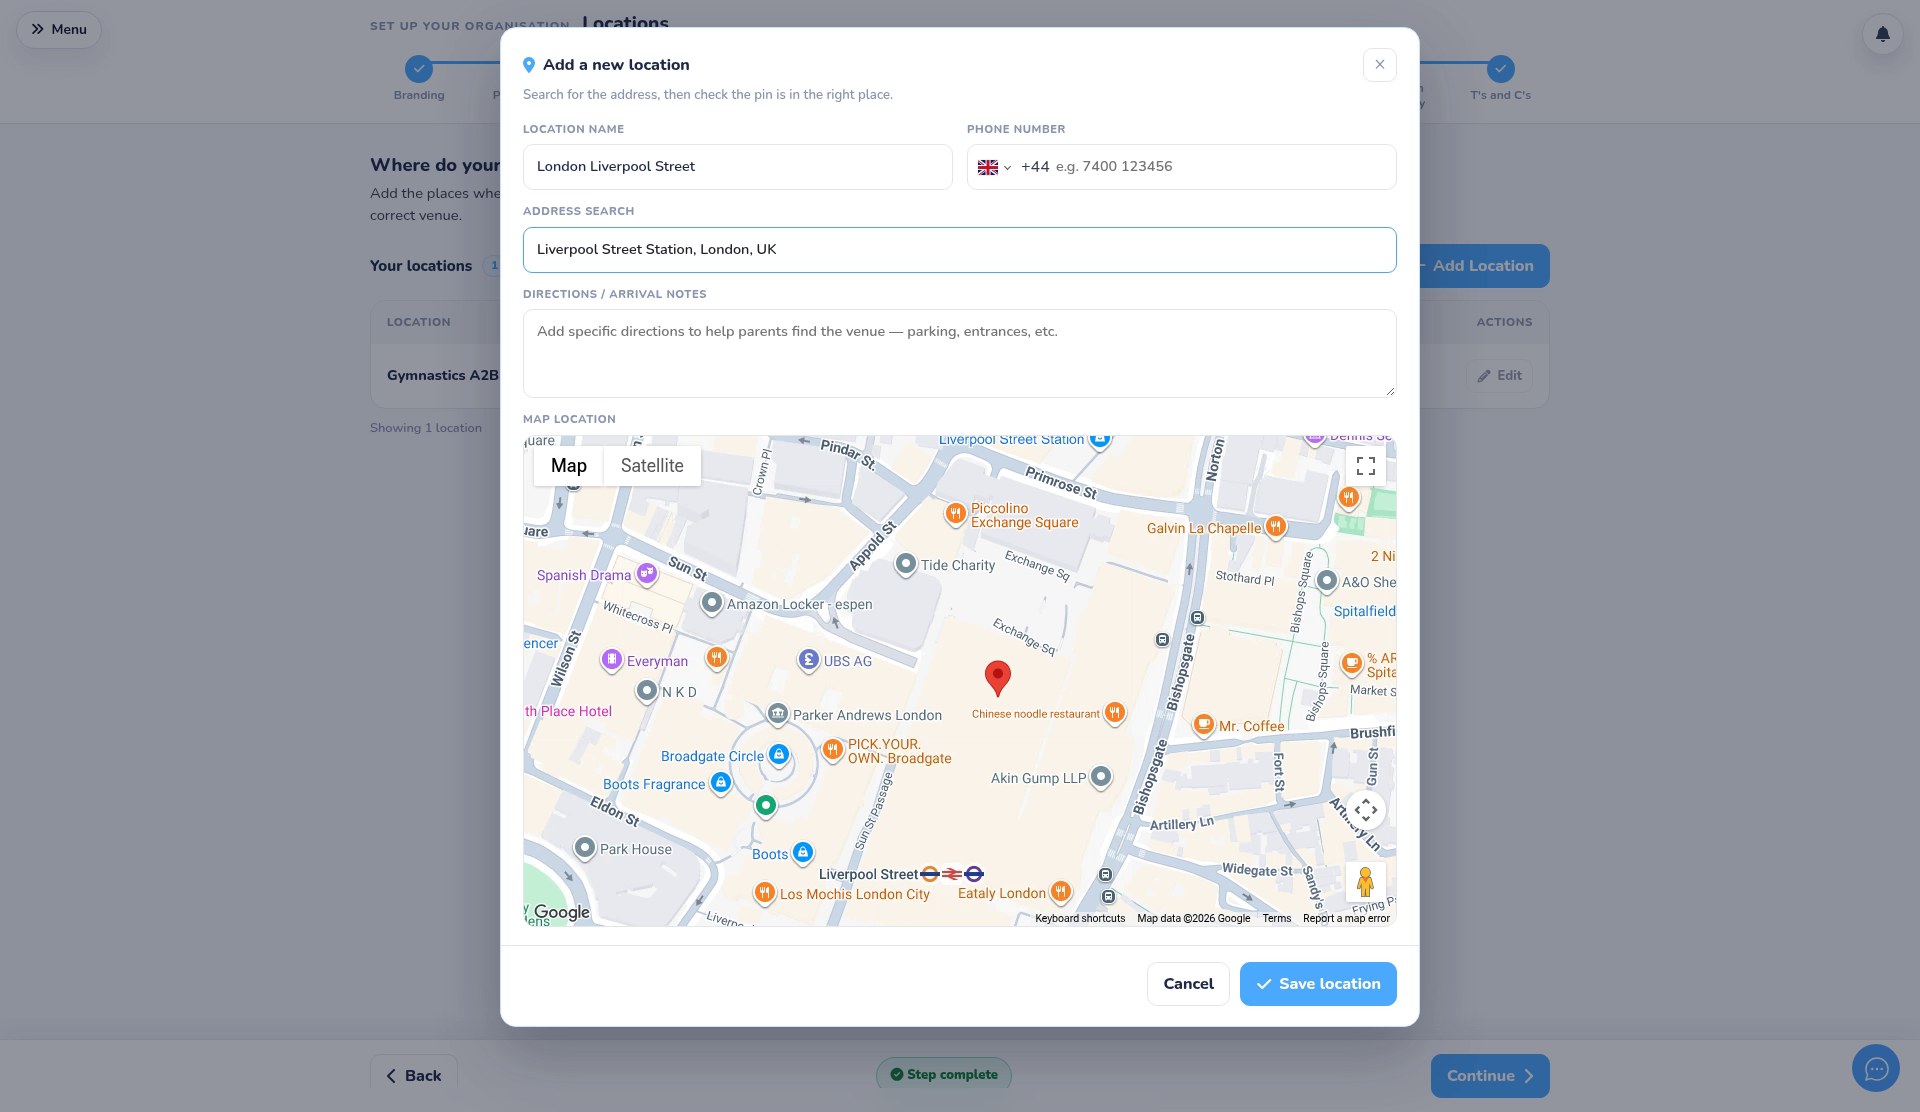
- Start typing the address in Address search and pick the right suggestion.
- The Map location shows a pin so you can check it’s the right place.
Step 4: Add directions and save (0:50) #
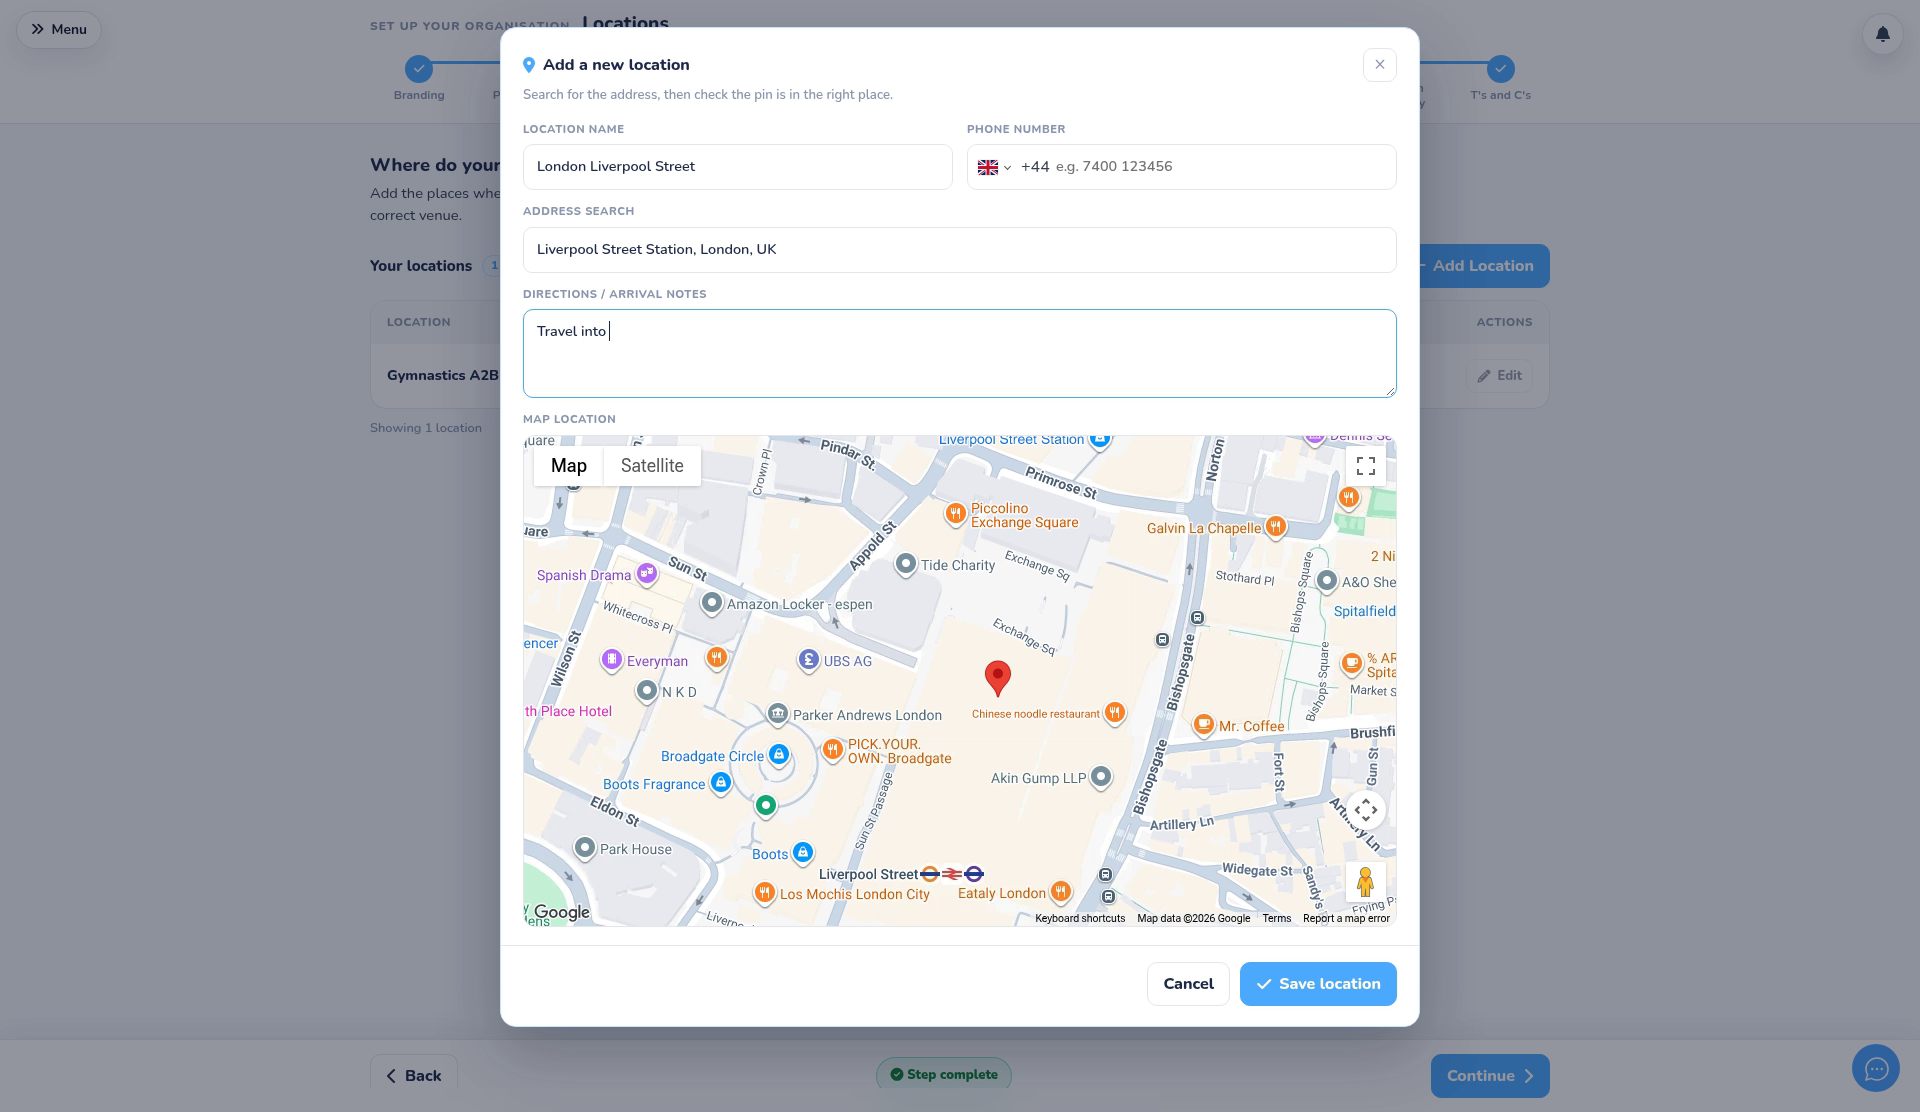
- Under Directions / arrival notes, add anything that helps parents find the venue, such as parking or which entrance to use.
- Click Save location. You need a name and an address to save. Click Cancel to close without saving.
Good to know #
- To add several venues at once, click Example CSV to download a sample, fill in the Location Name and Address (and Phone Number and Directions if you like), then upload it with Import CSV. Each address is looked up for you.
- Use Edit to change a venue.
- Delete asks you to confirm. You can’t delete a venue that a class uses.
- To share a booking link that only shows one location, see How to Share a Booking Link for One Category or Location.


