

Table of Contents
When you tag members, you can email their parents automatically using the Assigned Tag email.
Tagging members #
Step 1: Select the member (0:00) #
- Go to Class Management > Classes and open the class.
- In the Class List, tick the member (or members) you want to tag.
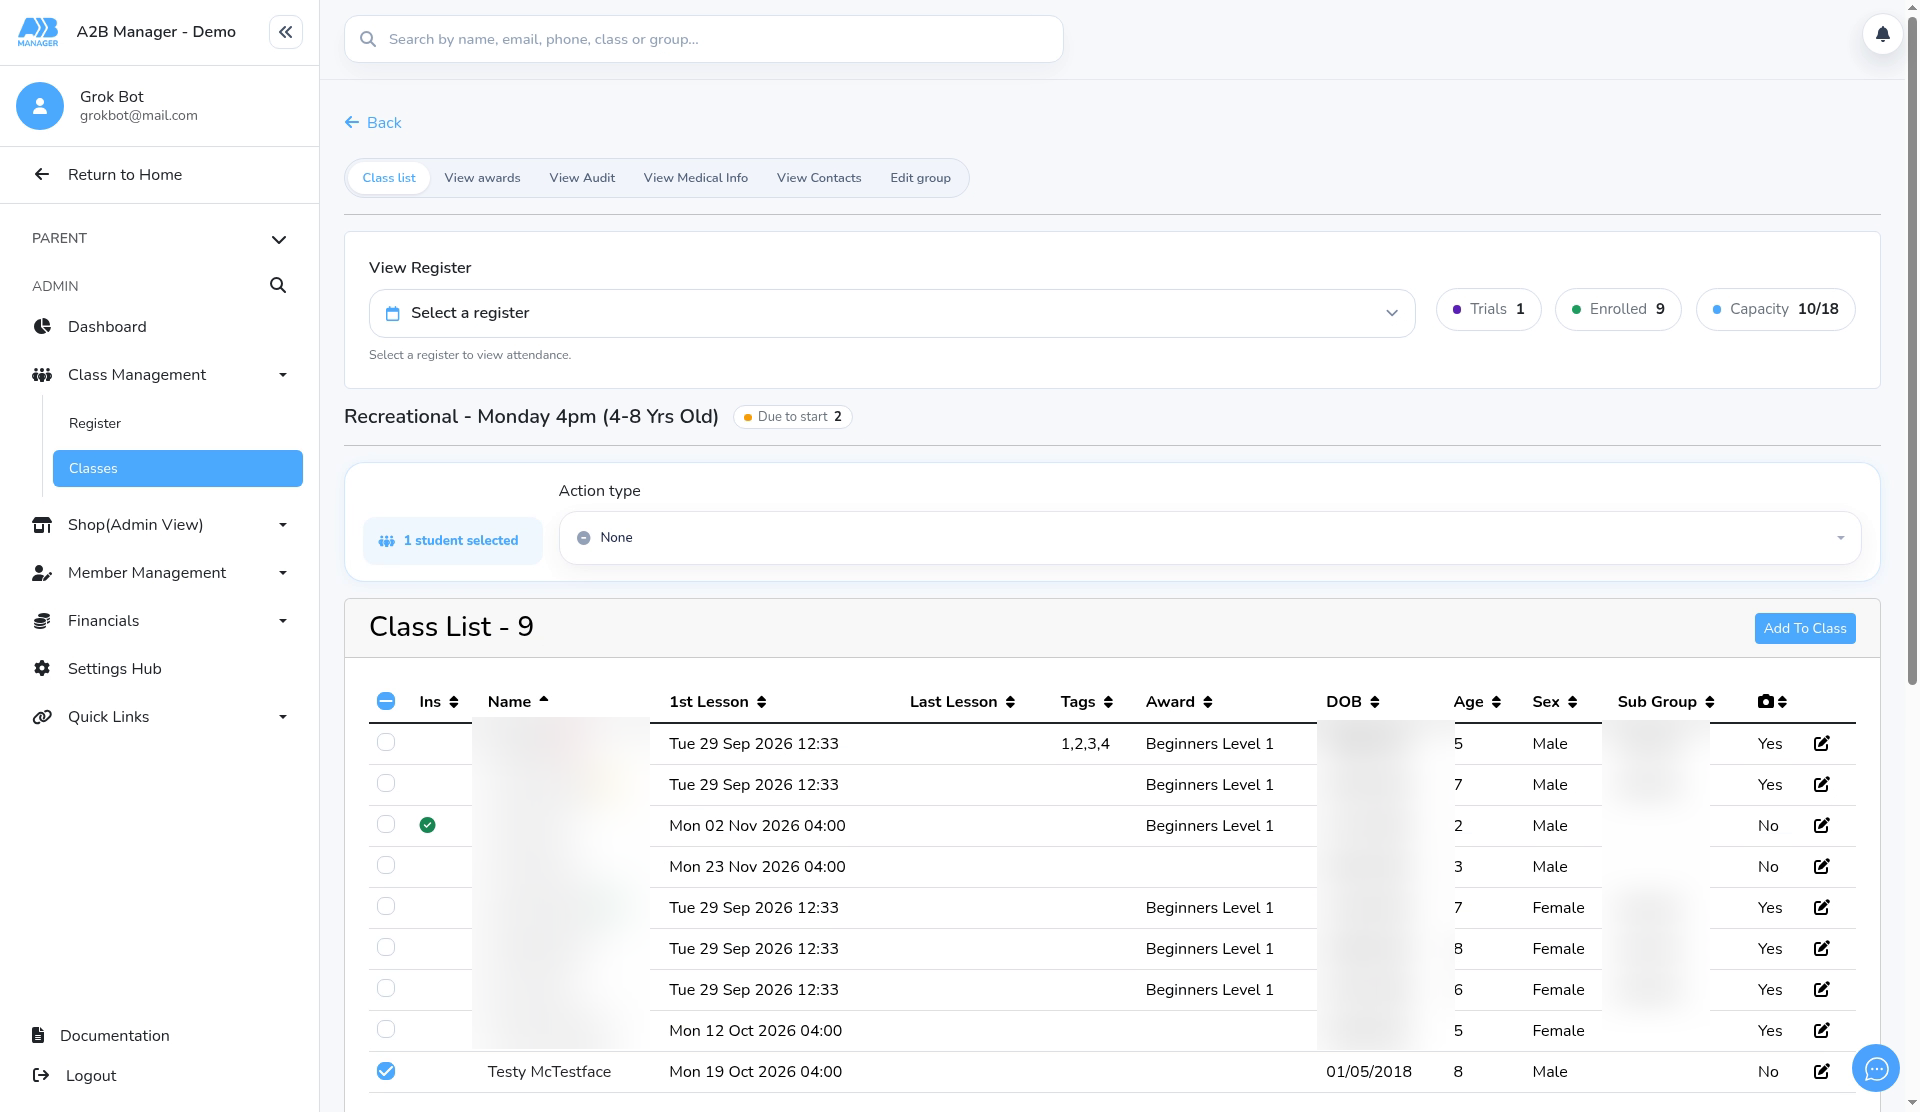
Step 2: Open Set Tags (0:09) #
- Open Action type and choose Set Tags.
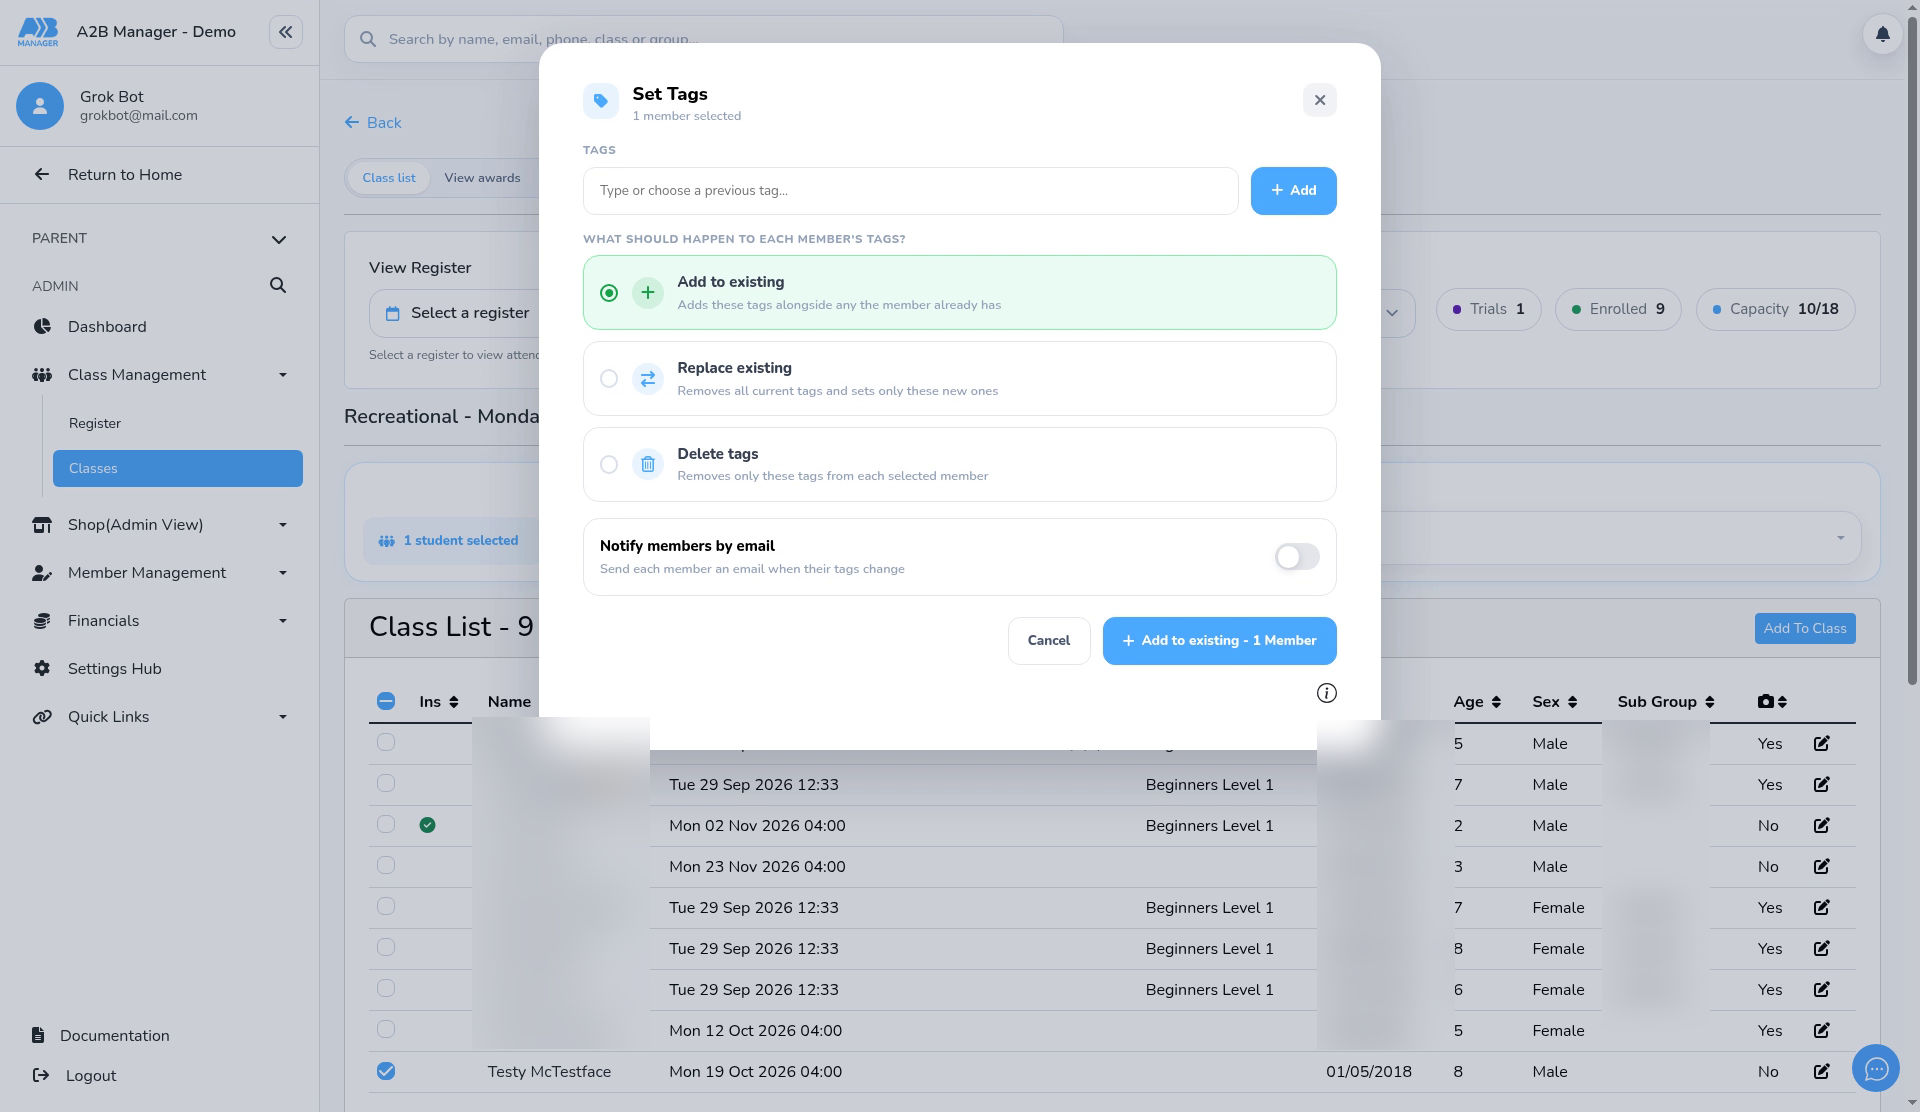
Step 3: Add the tag (0:21) #
- In Tags, type a tag or pick one you’ve used before, then click Add. For example, Regional Squad.
- Under What should happen to each member’s tags? choose:
- Add to existing: keeps their other tags
- Replace existing: removes all their tags and sets only these
- Delete tags: removes only these tags
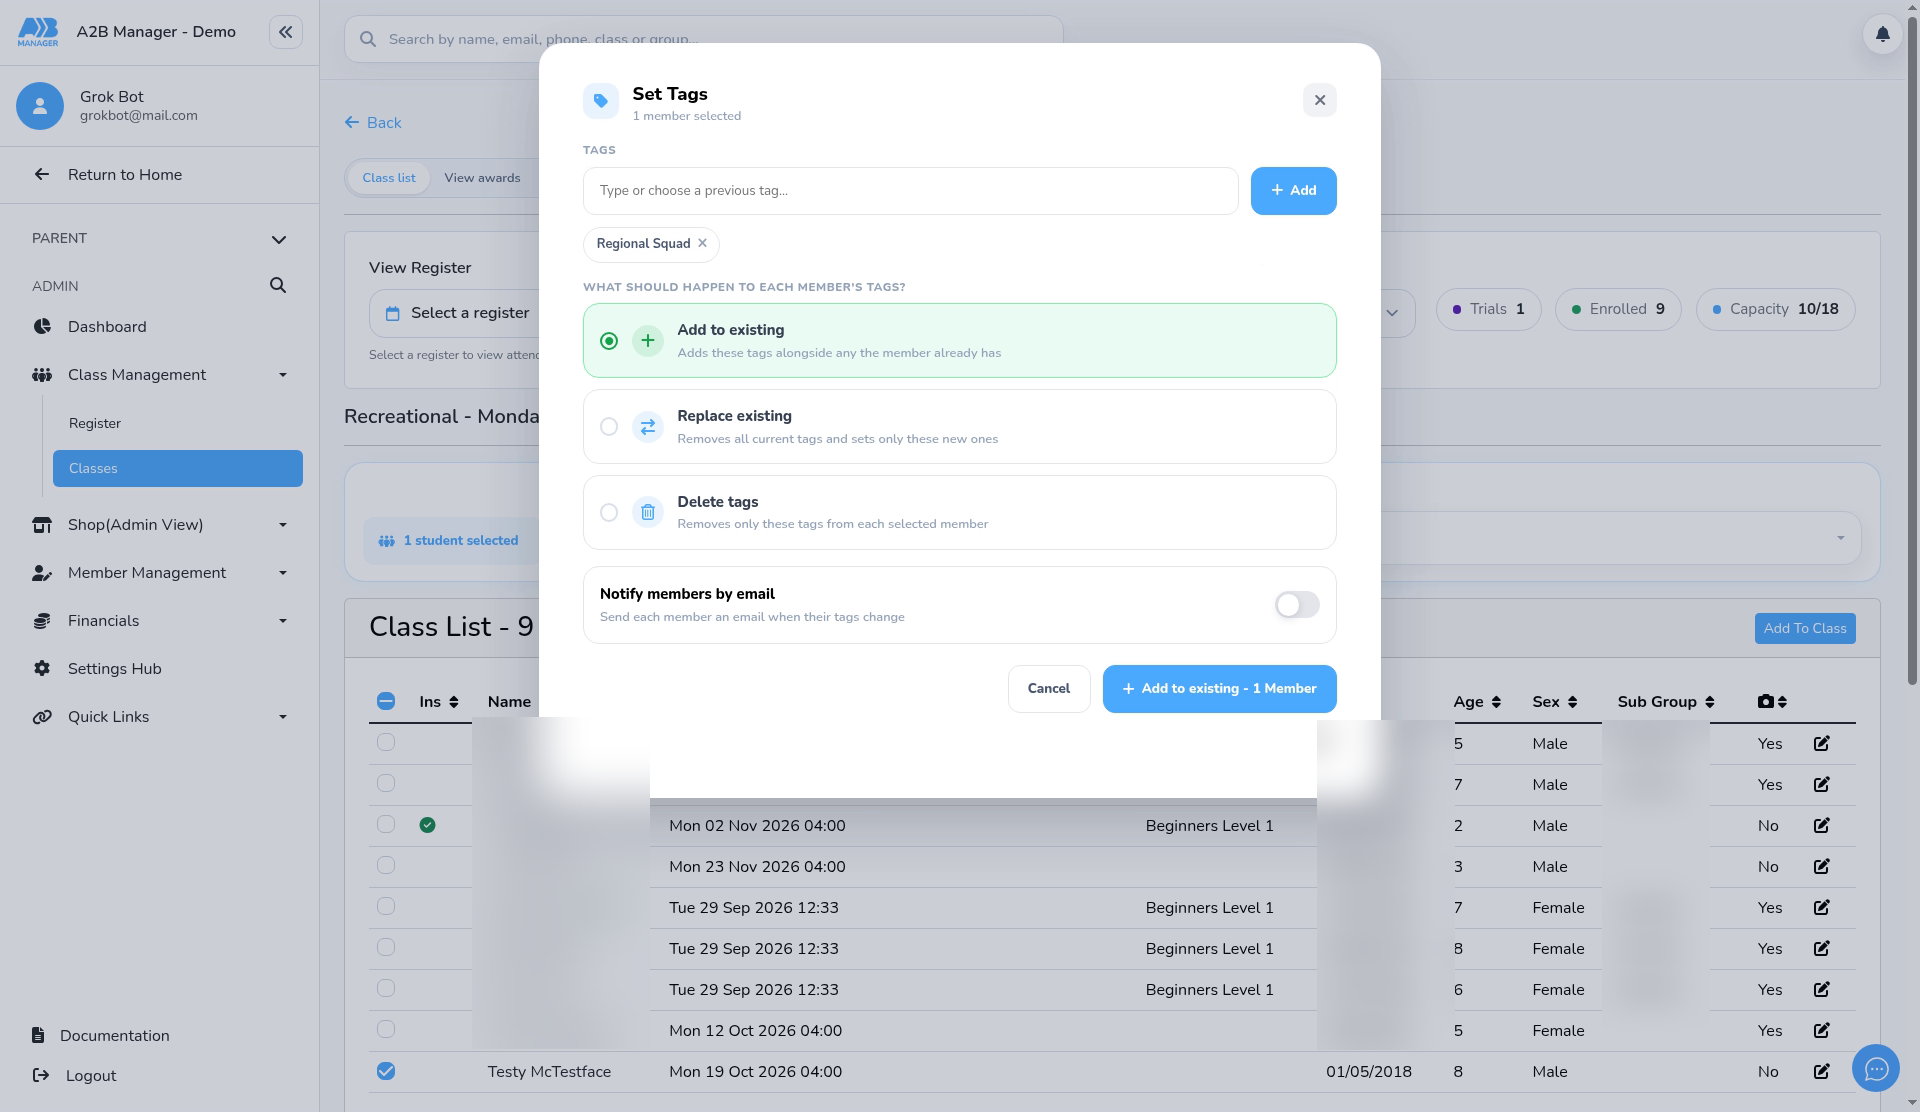
Step 4: Choose whether to email (0:48) #
- Turn on Notify members by email to send the Assigned Tag email. Leave it off and no email is sent.
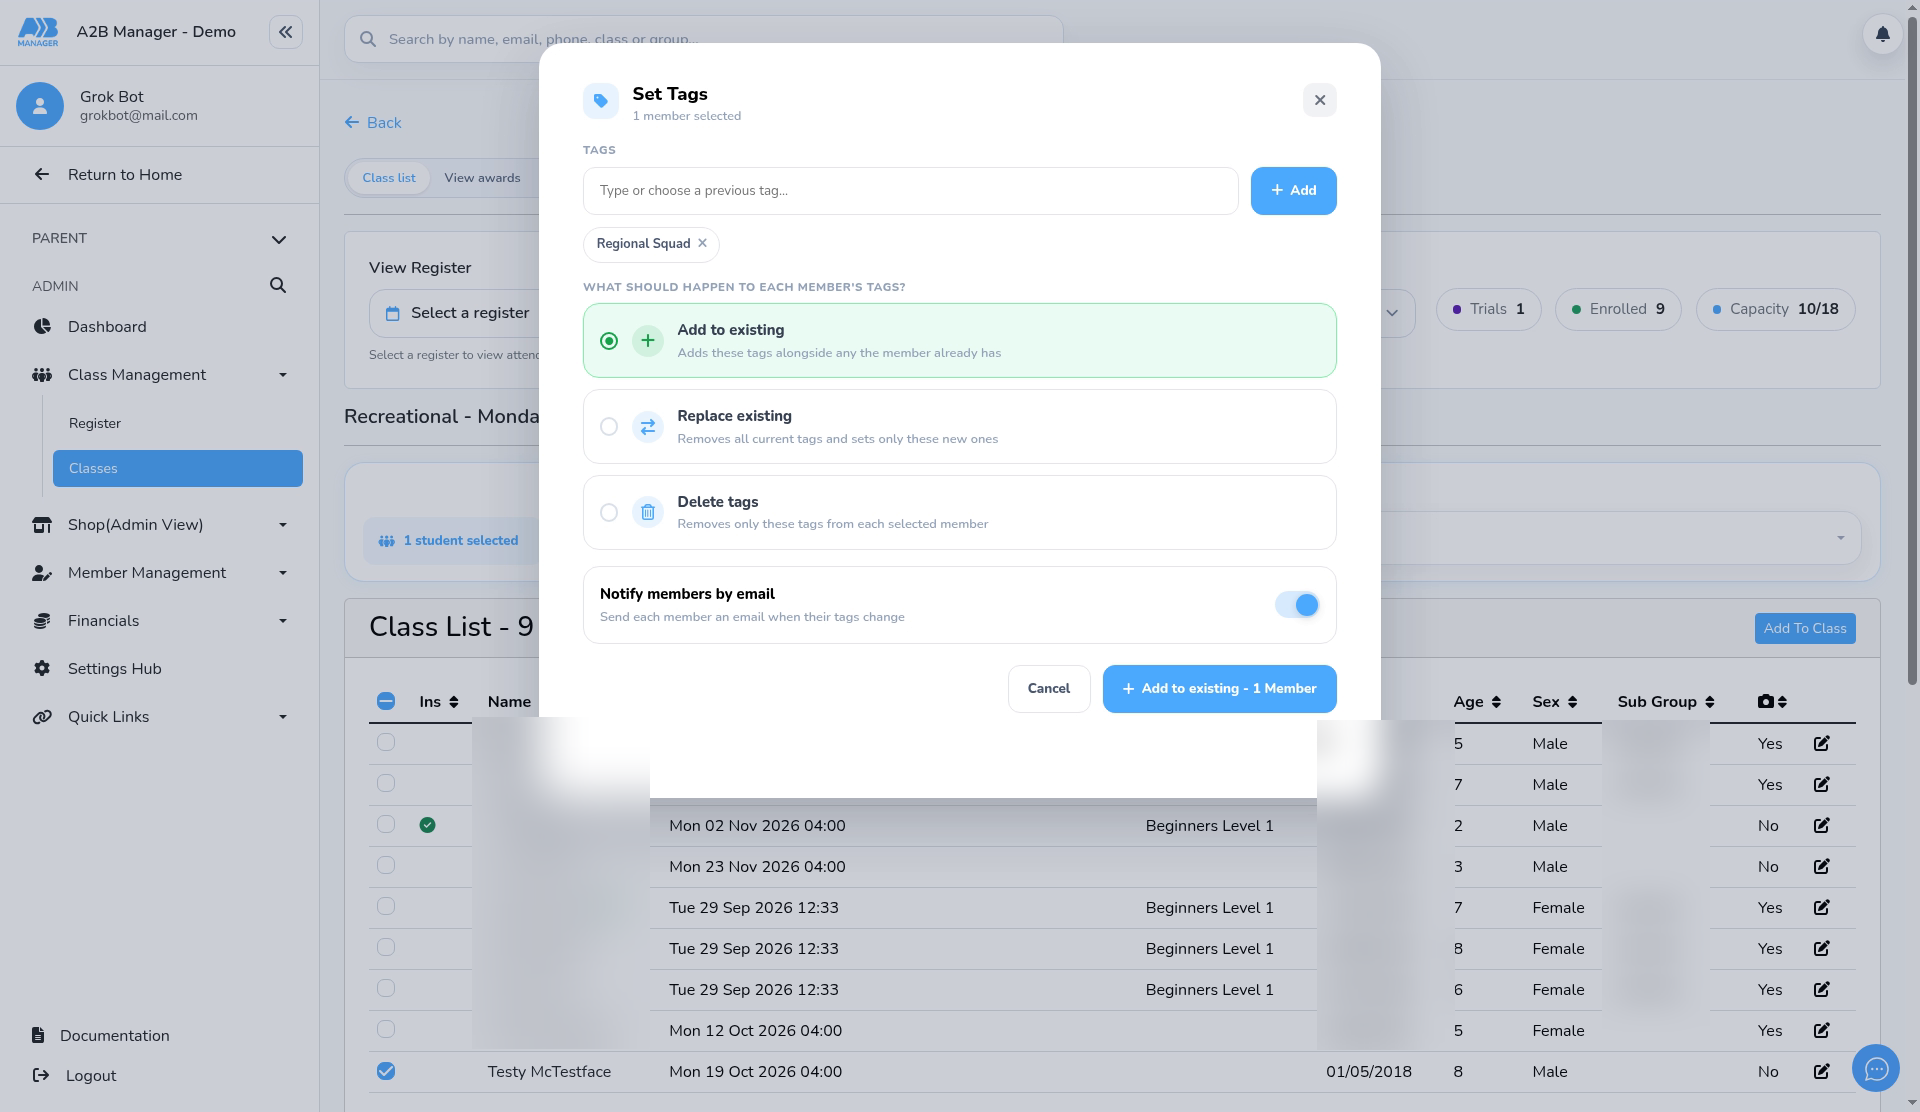
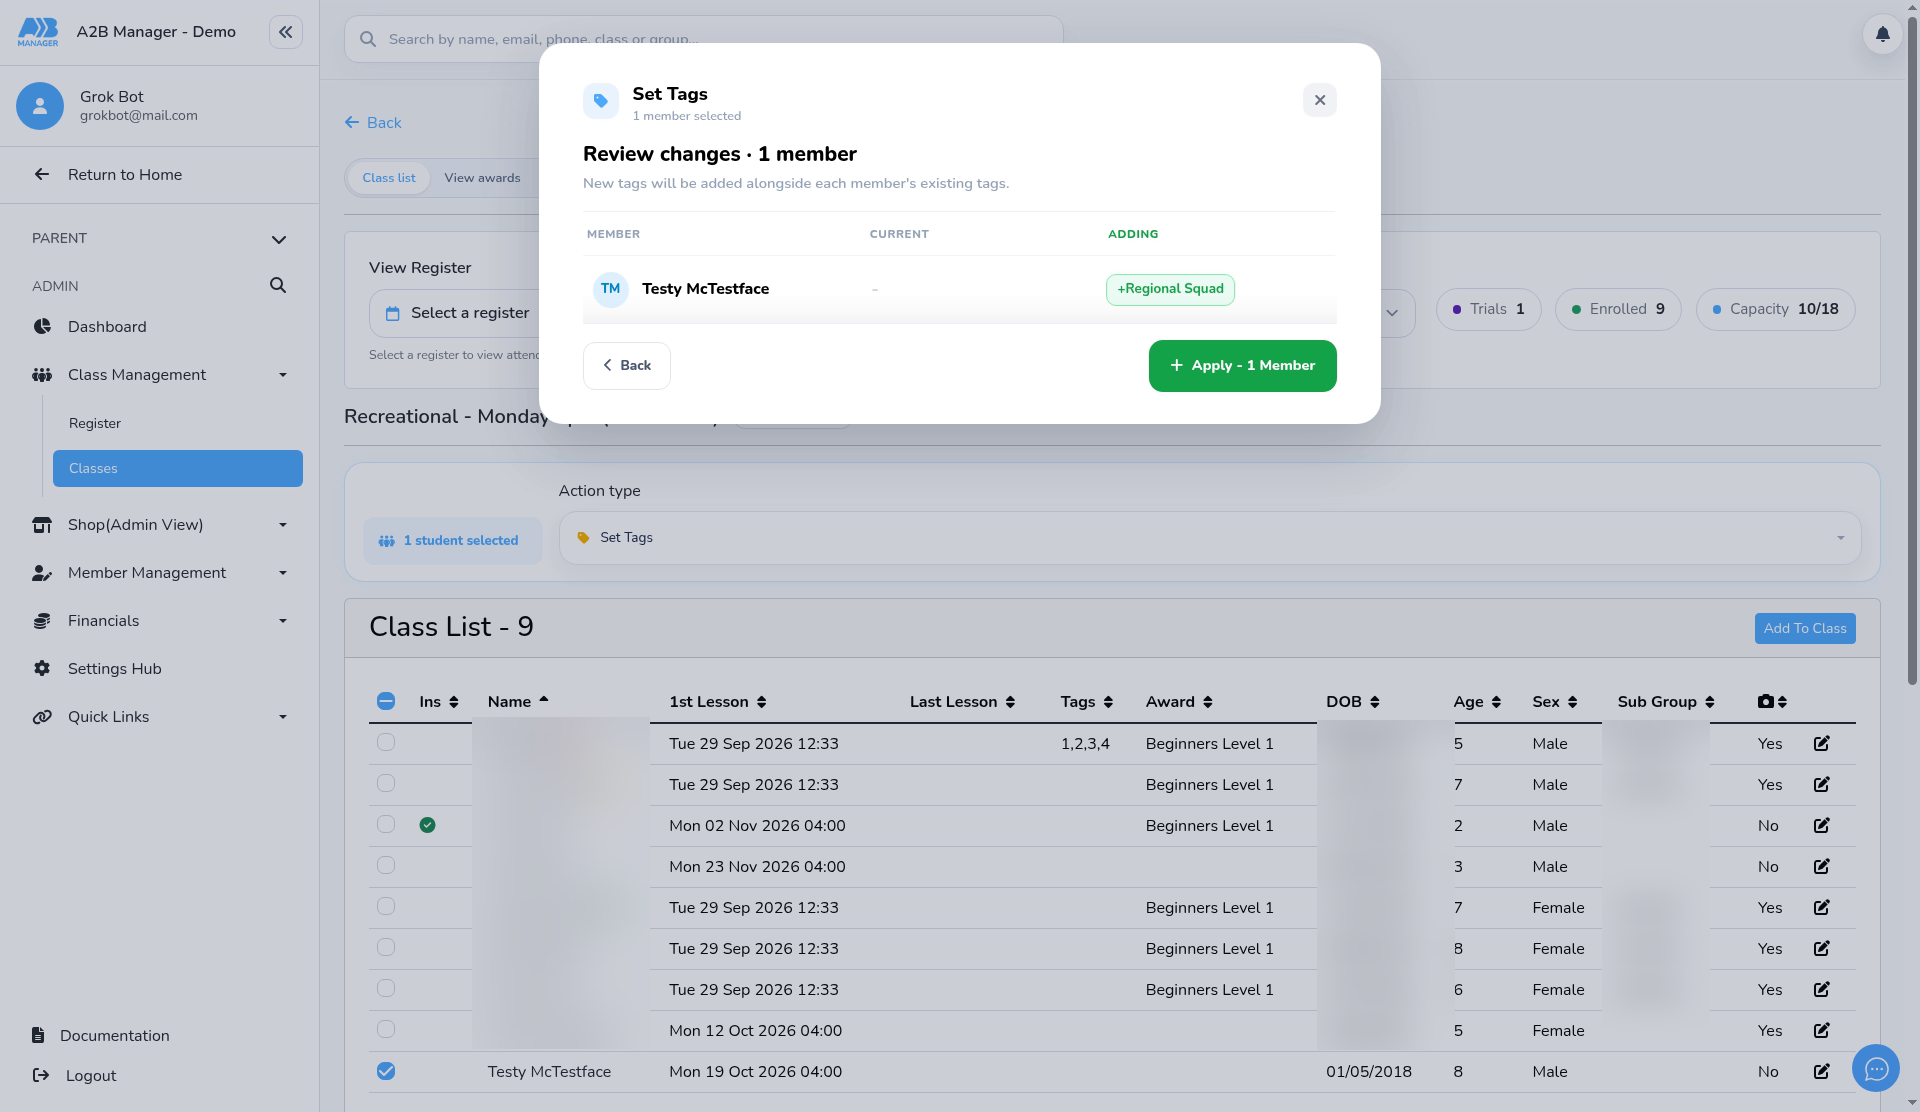
Step 5: Review the changes (1:01) #
- Click the add button (for example Add to existing · 1 Member).
- Review changes lists each member with their Current tags and what you’re Adding. Click Back to change anything.
Step 6: Apply (1:18) #
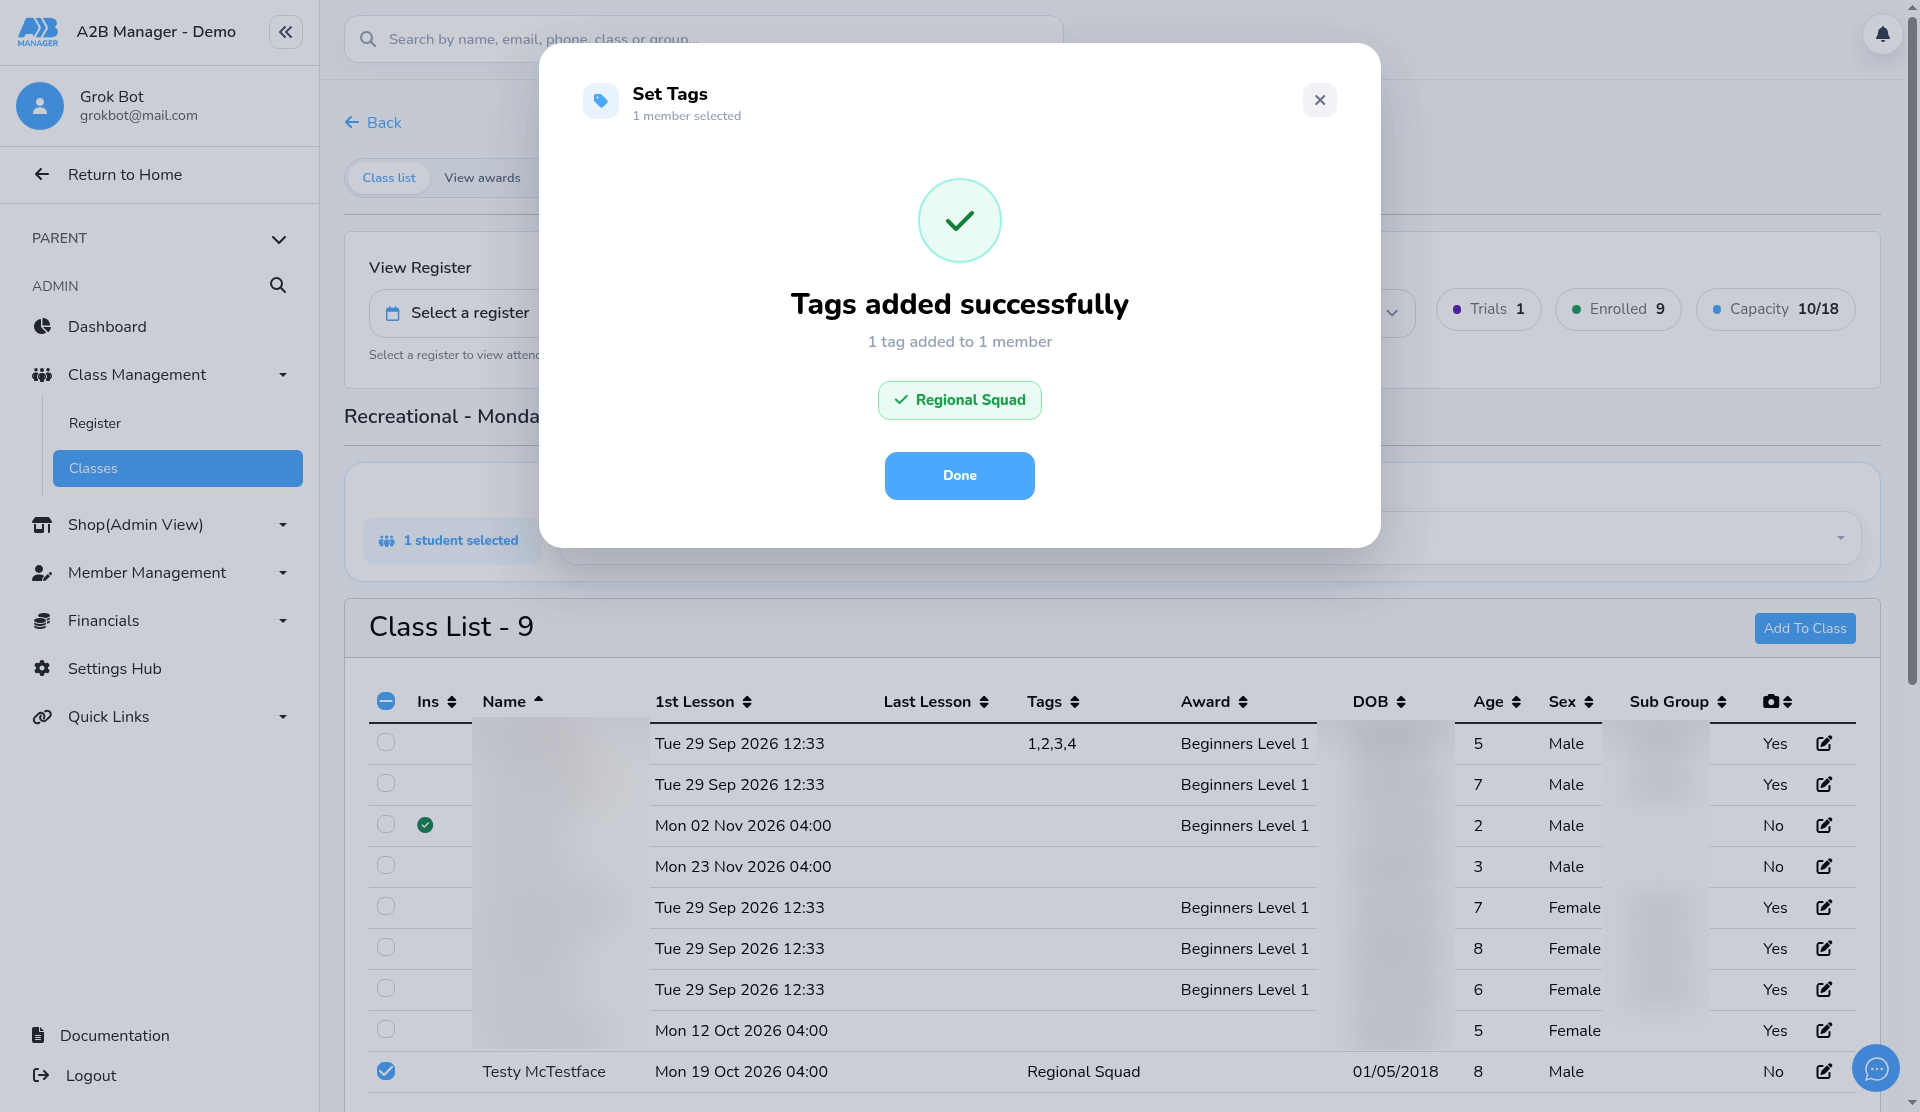
- Click Apply. You’ll see Tags added successfully; click Done.
- The tag now shows in the member’s Tags column. If notify was on, the email is sent straight away.
The Assigned Tag email #
- Find it under Settings Hub > Email Templates > Assigned Tag. You can change the wording.
- The default message is: Dear {ParentFirstName} {ParentLastName}, {StudentFirstName} {StudentLastName} has been assigned the following tag. {Tag}
- It goes to the member’s parent, and only when Notify members by email is on.
Good to know #
- You can also set tags from the Members list.


