

Table of Contents
Categories organise your class types. For example, you might use sports such as Gymnastics or Dance, or disciplines such as Recreational, Artistic and Trampoline.
Adding categories #
Step 1: Open the Categories step (0:00) #
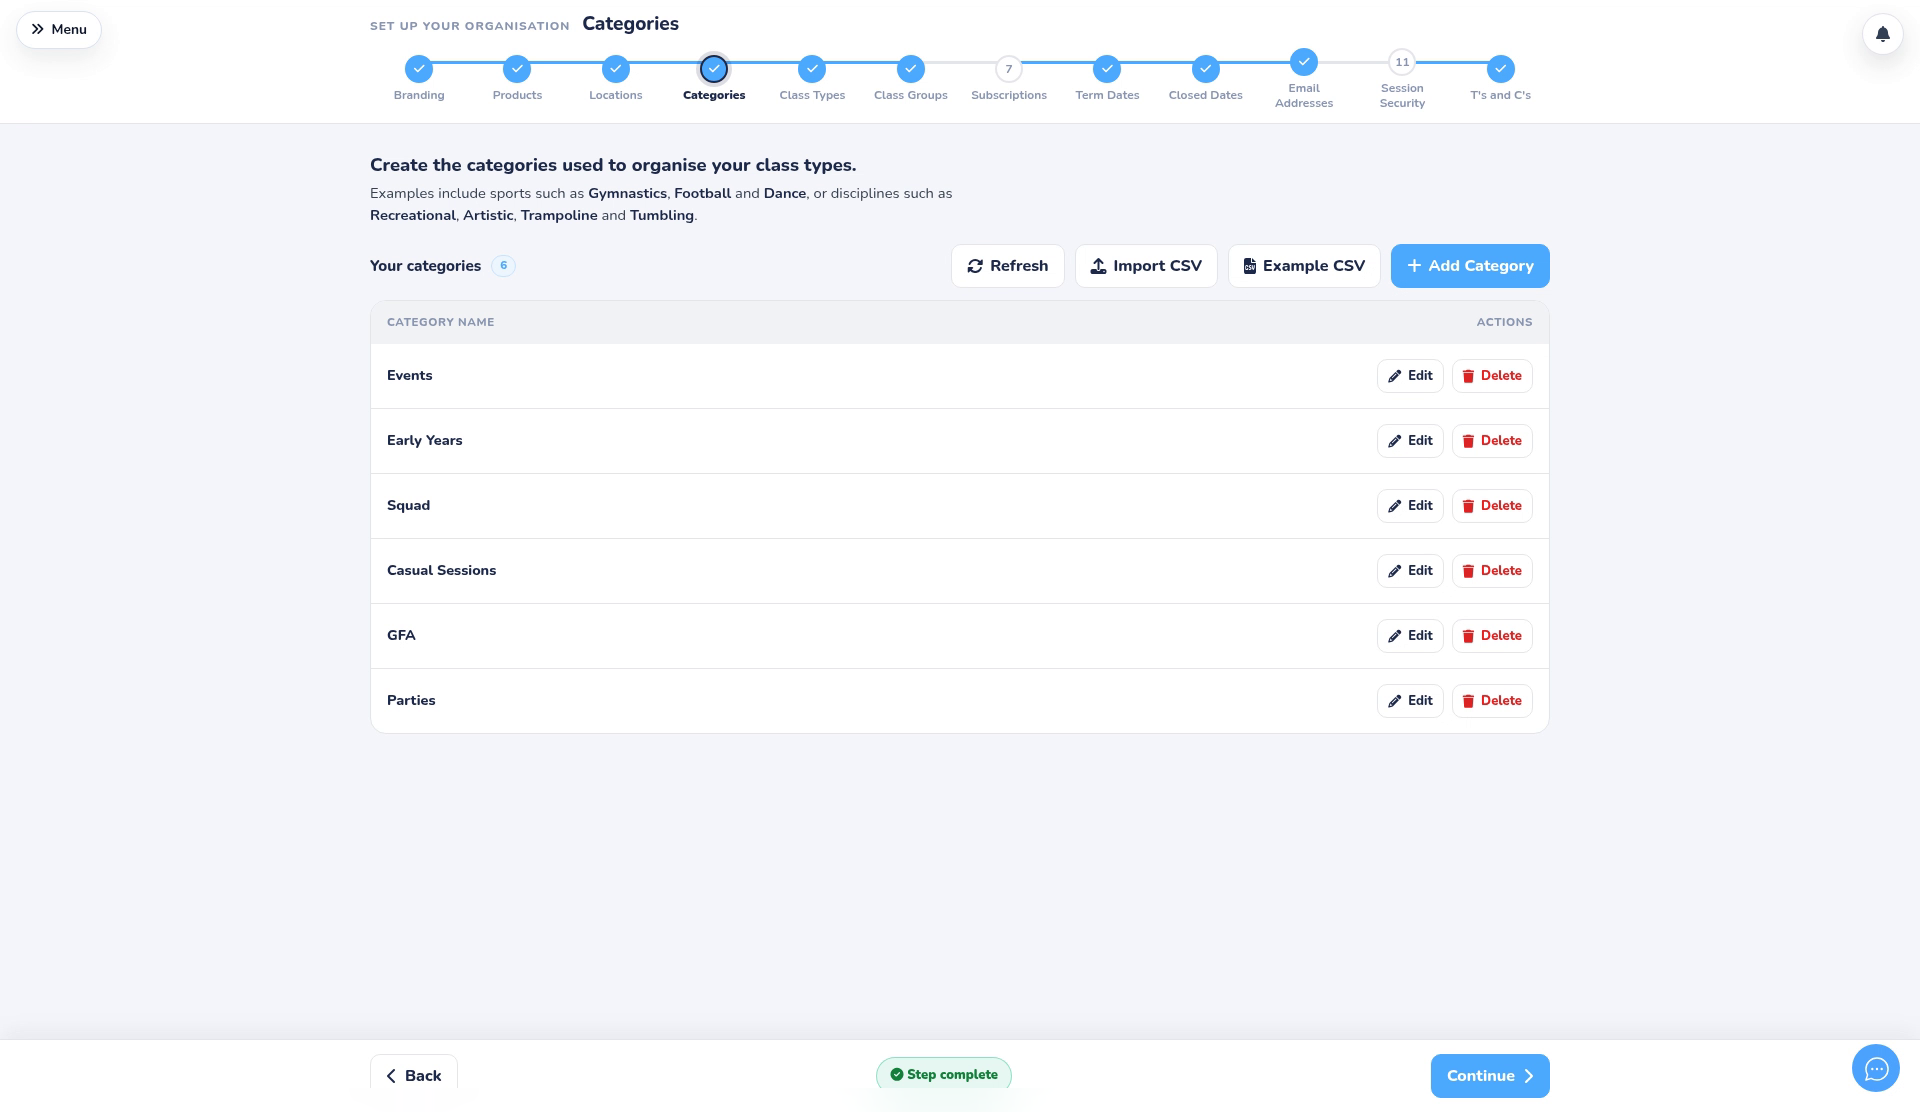
- Open the Setup Wizard and go to the Categories step. Your categories are listed with Edit and Delete buttons.
- To add lots at once, click Example CSV to download a sample file with one category name on each row, then upload yours with Import CSV.
Step 2: Add your categories (0:14) #
- Click Add Category.
- Depending on the activity you chose, the rows may already be filled in with a starting list. Change or remove any of them.
Step 3: Add more rows and save (0:26) #
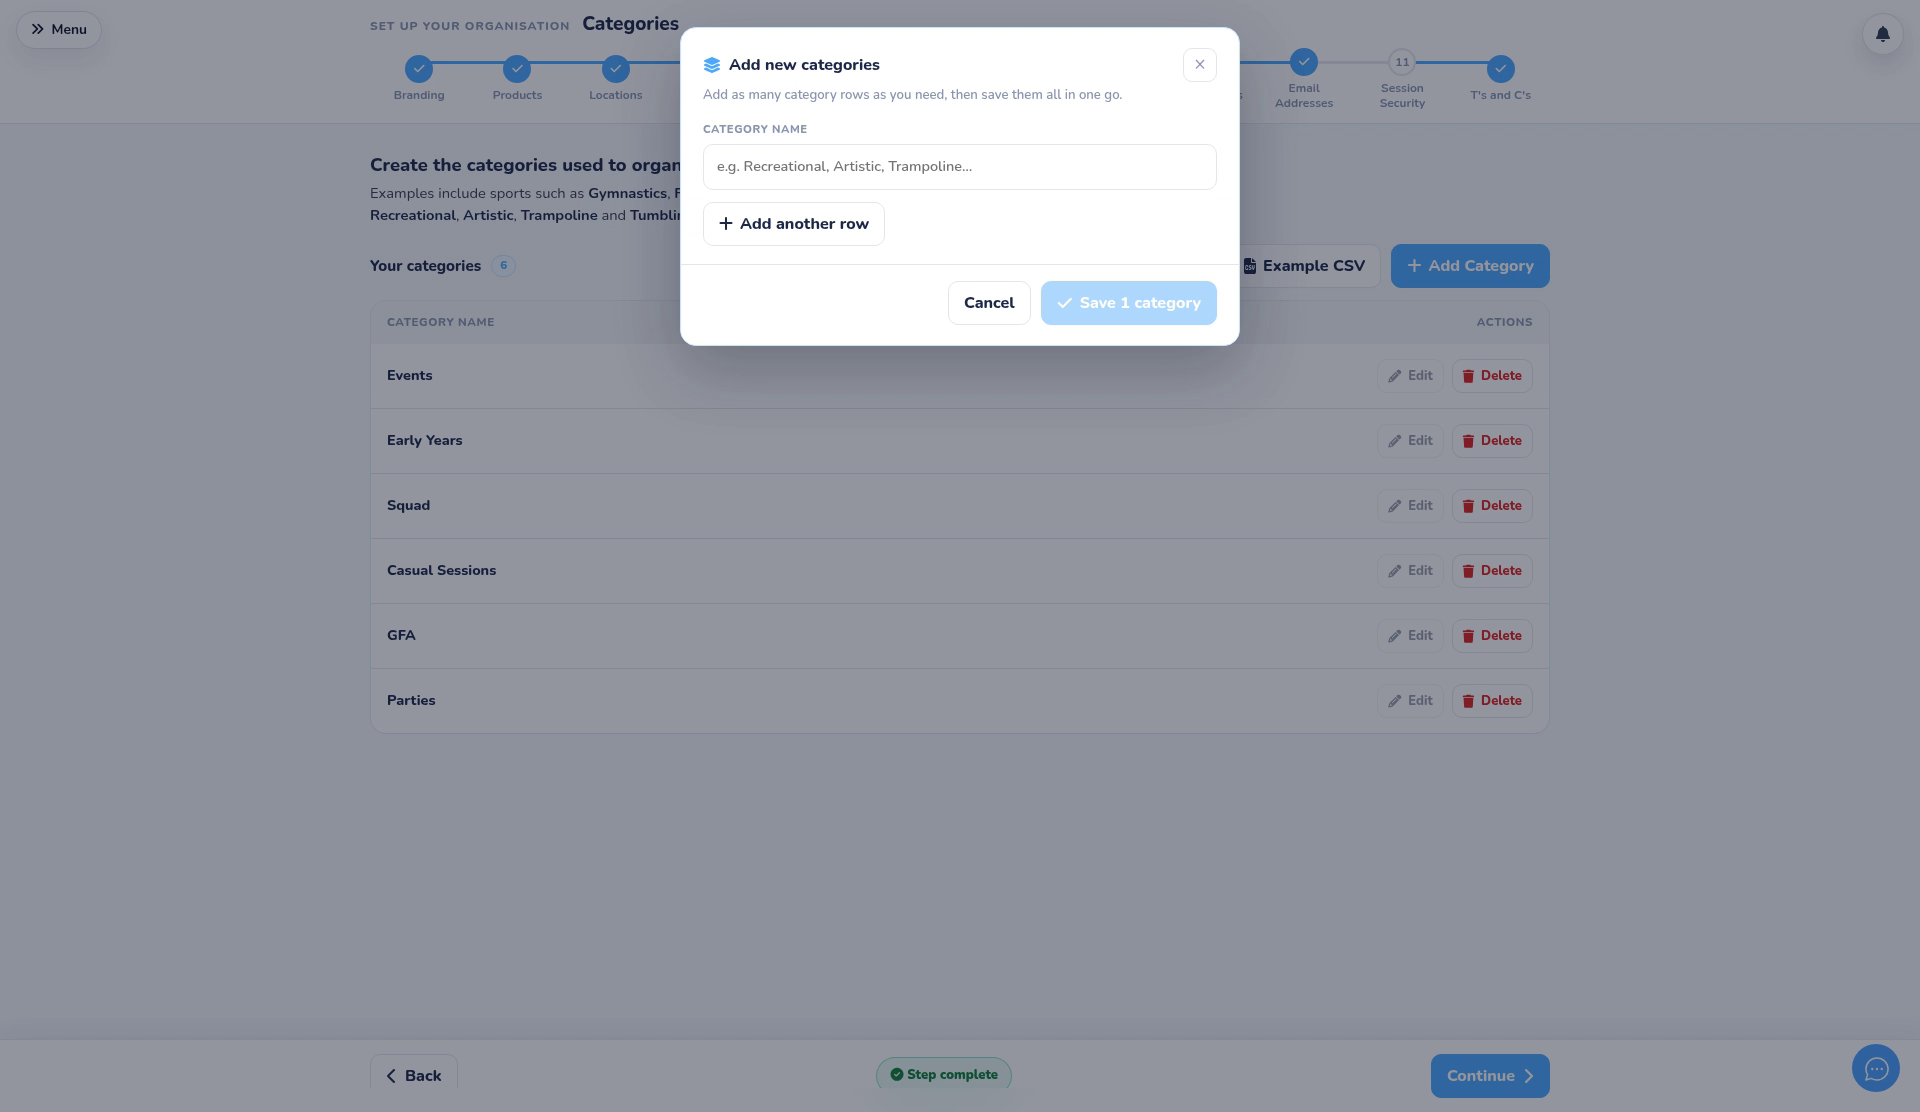
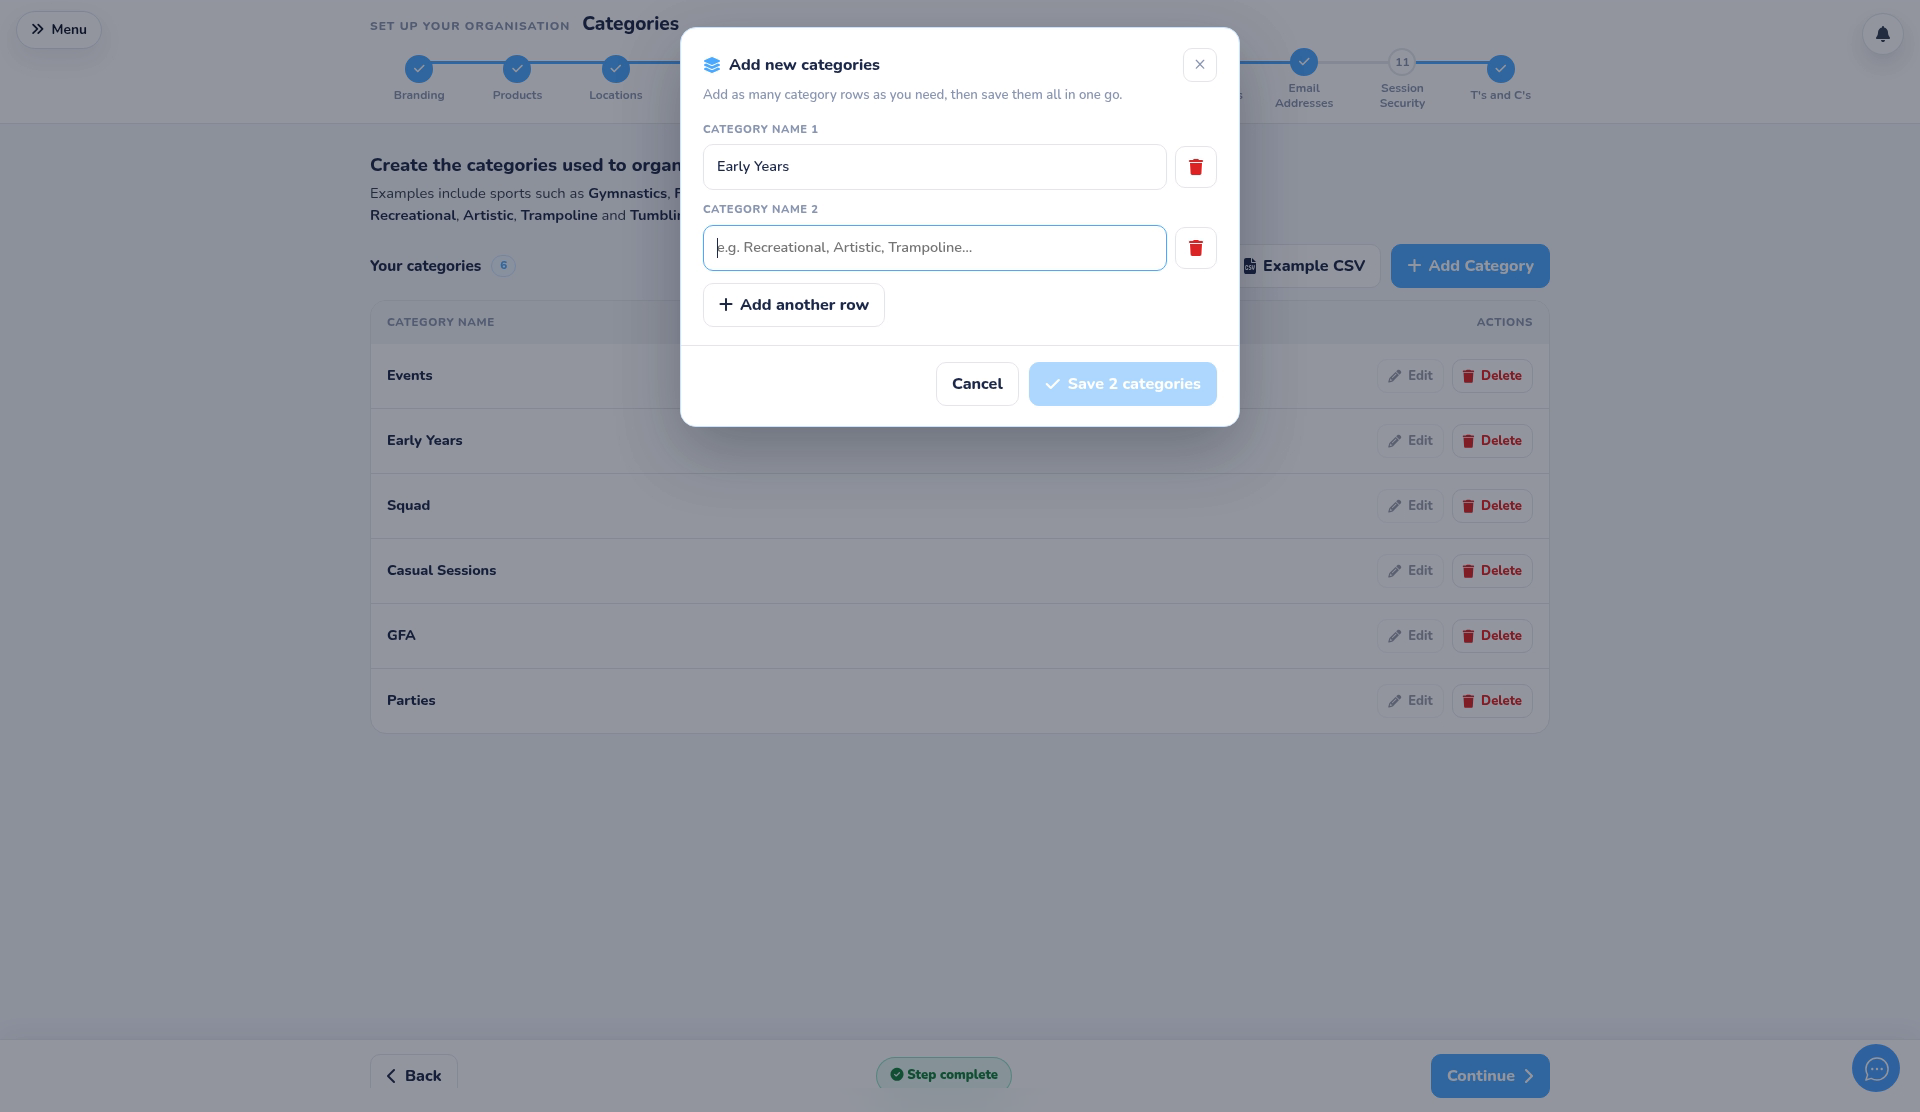
- Type a Category name, for example Early Years.
- Click Add another row to add more, for example School Age.
- Click the save button, for example Save 2 categories, to create them all together. Nothing is created until you save. Click Cancel to close without saving.
Choosing categories #
- There’s no single right way. Choose categories that match how your club is organised.
- A smaller recreational club might use broad groups such as Early Years, School Age, Kids and Events.
- A larger club might use disciplines such as Women’s Artistic, Men’s Artistic and Recreational.
Good to know #
- Use Edit to rename a category.
- Delete asks you to confirm. It only works when no class types use the category.
- Next, add your class types. See How to Add Class Types.
- To share a booking link that only shows one category, see How to Share a Booking Link for One Category or Location.


