

Table of Contents
Use the shop to sell items such as uniform, badges and water bottles. Parents collect their orders from the club.
Adding a product #
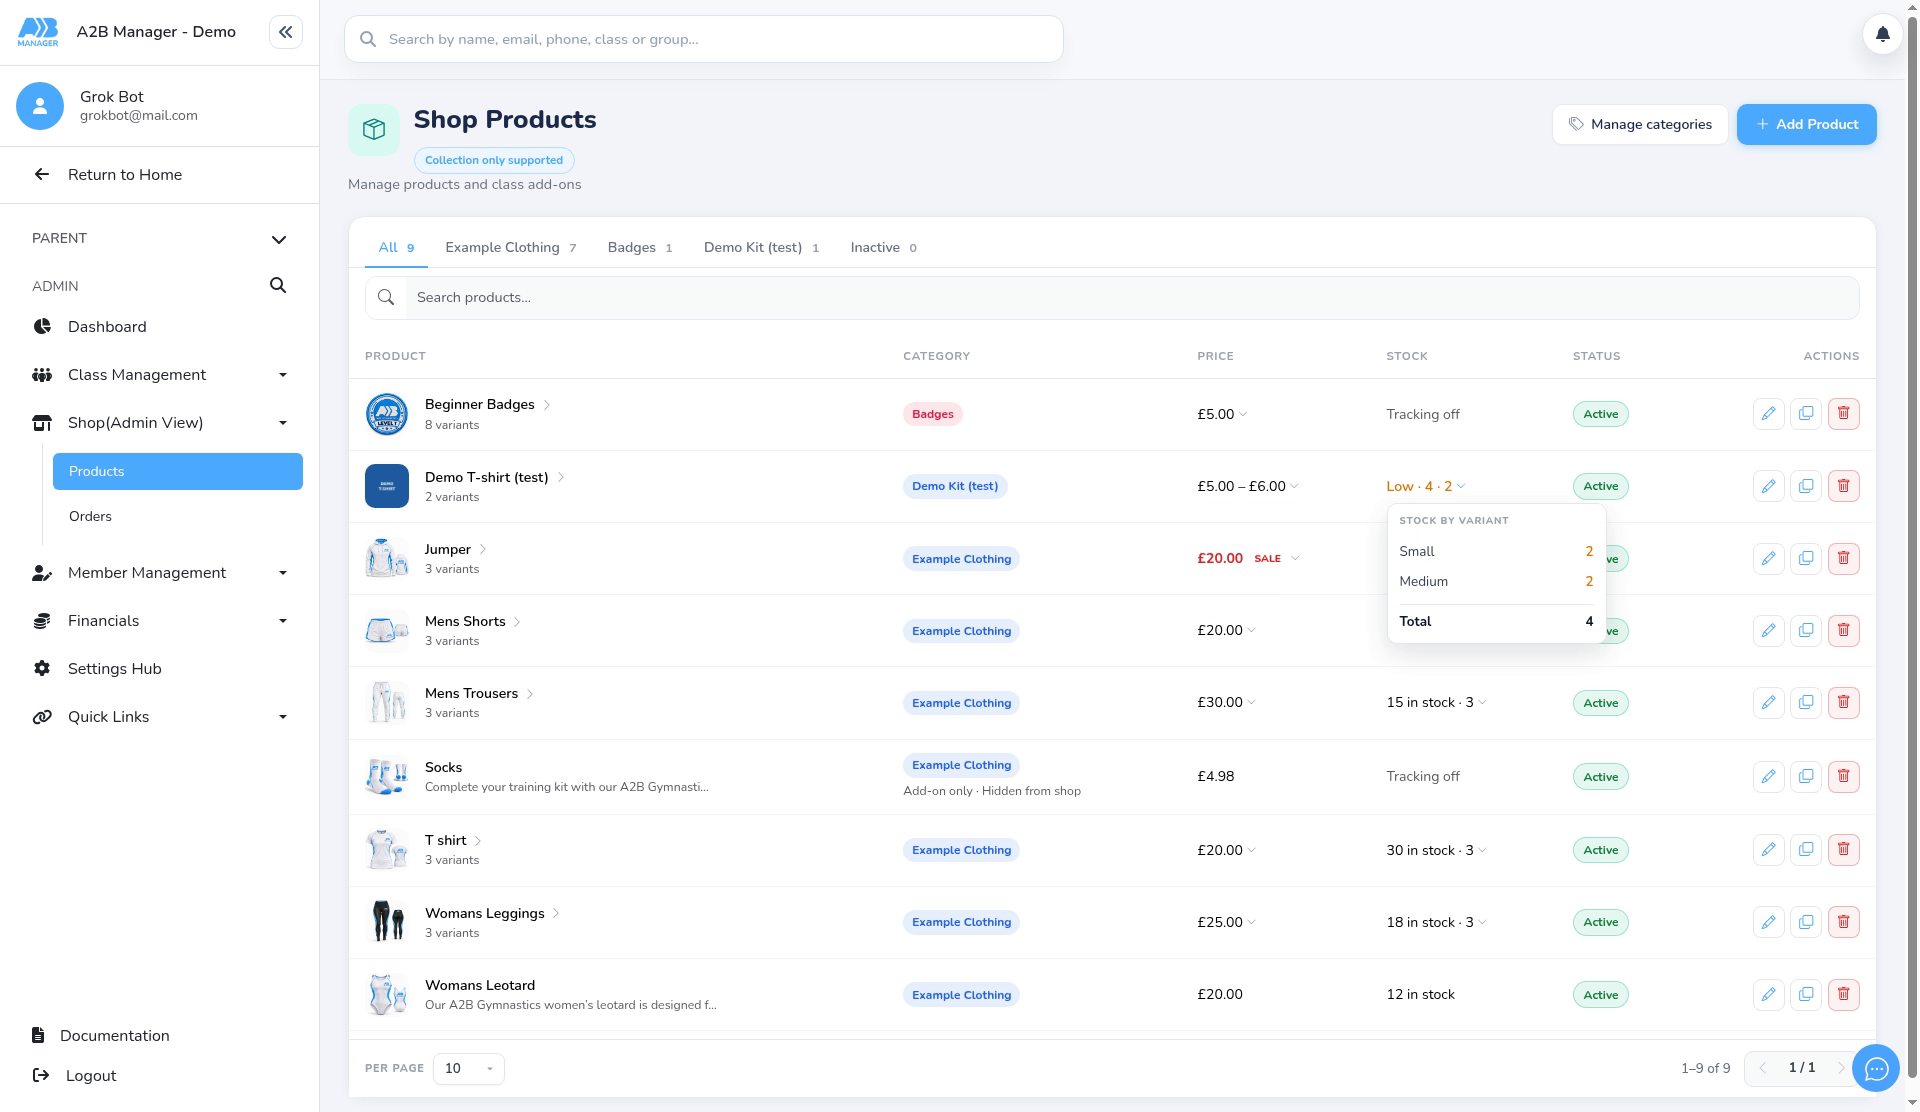
Step 1: Open Shop Products (0:00) #
- Go to Shop (Admin View) > Products. Each product shows its category, price, stock and status.
Step 2: Add the name and description (0:37) #
- Click Add Product.
- Enter a Name and a Description.
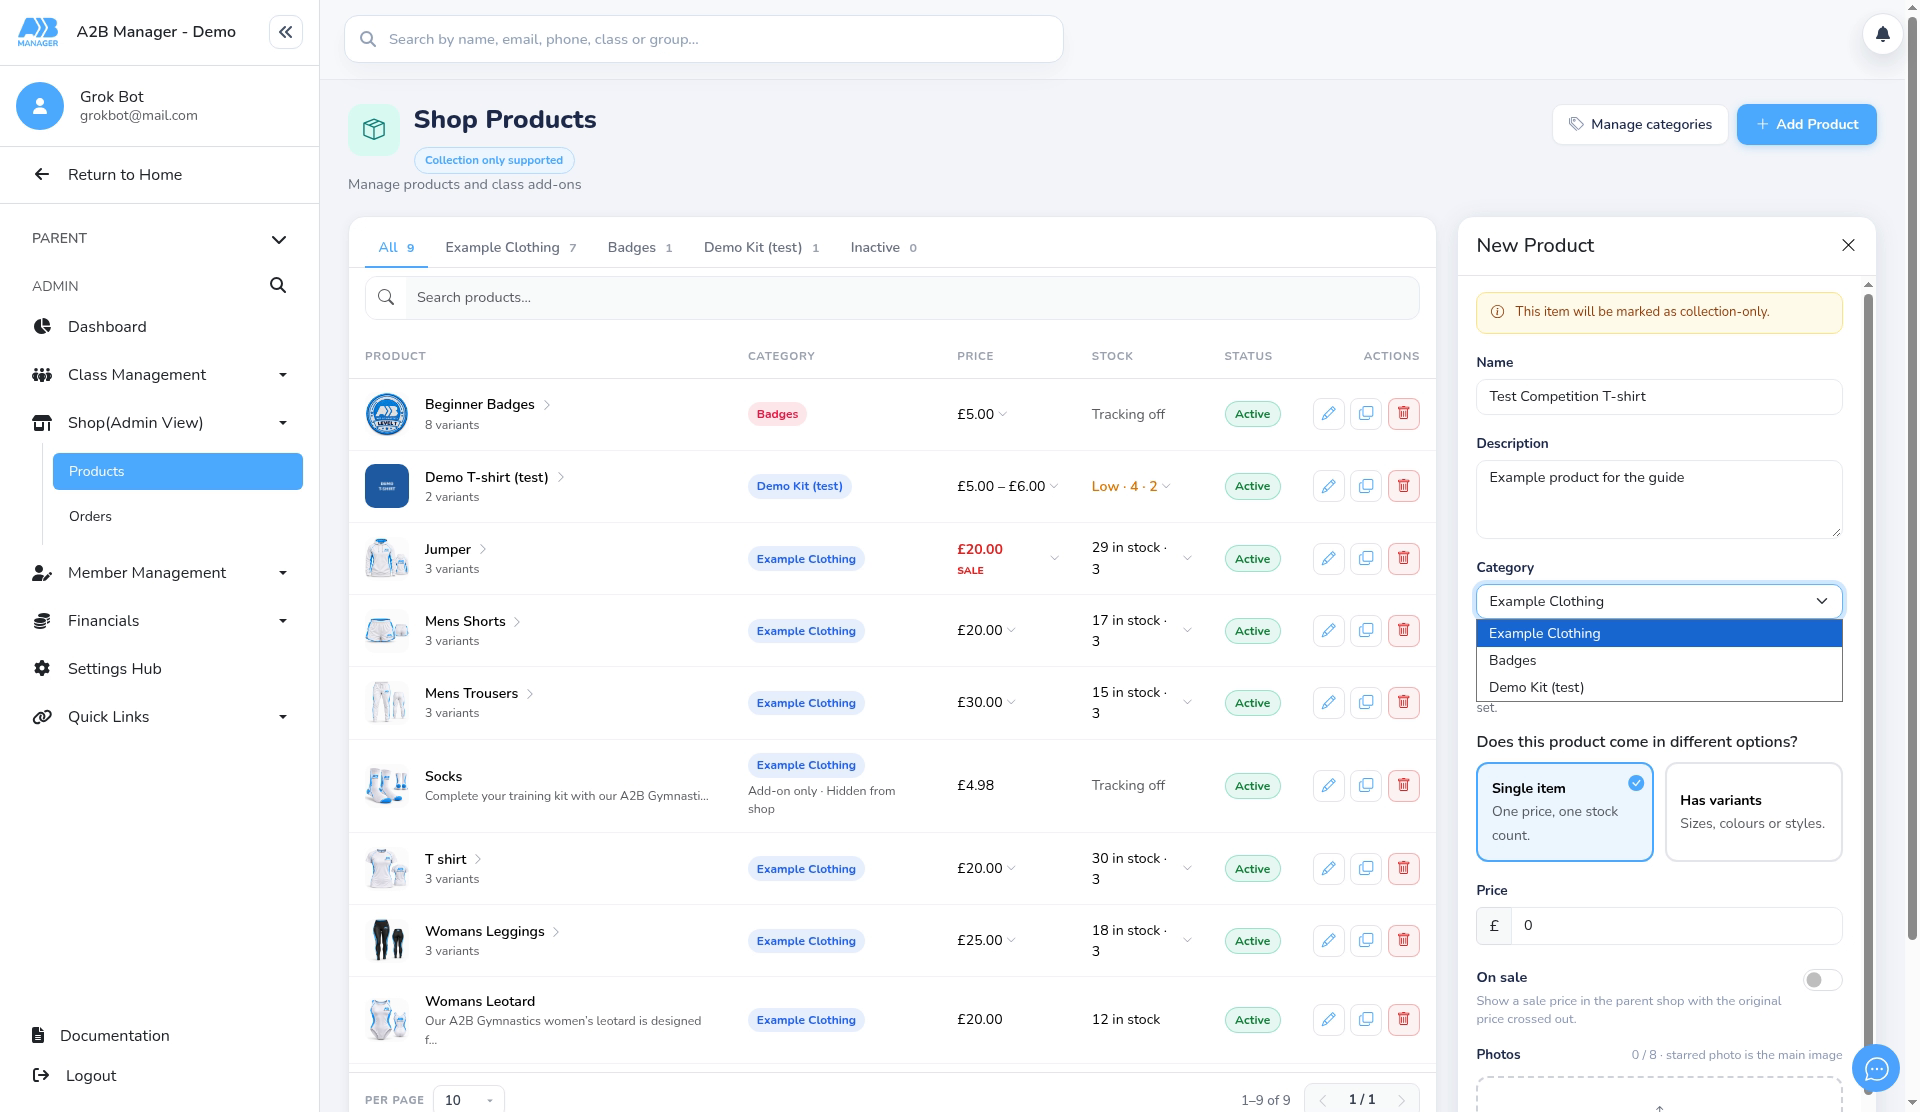
Step 3: Choose a category (1:08) #
- Choose a Category, for example Example Clothing.
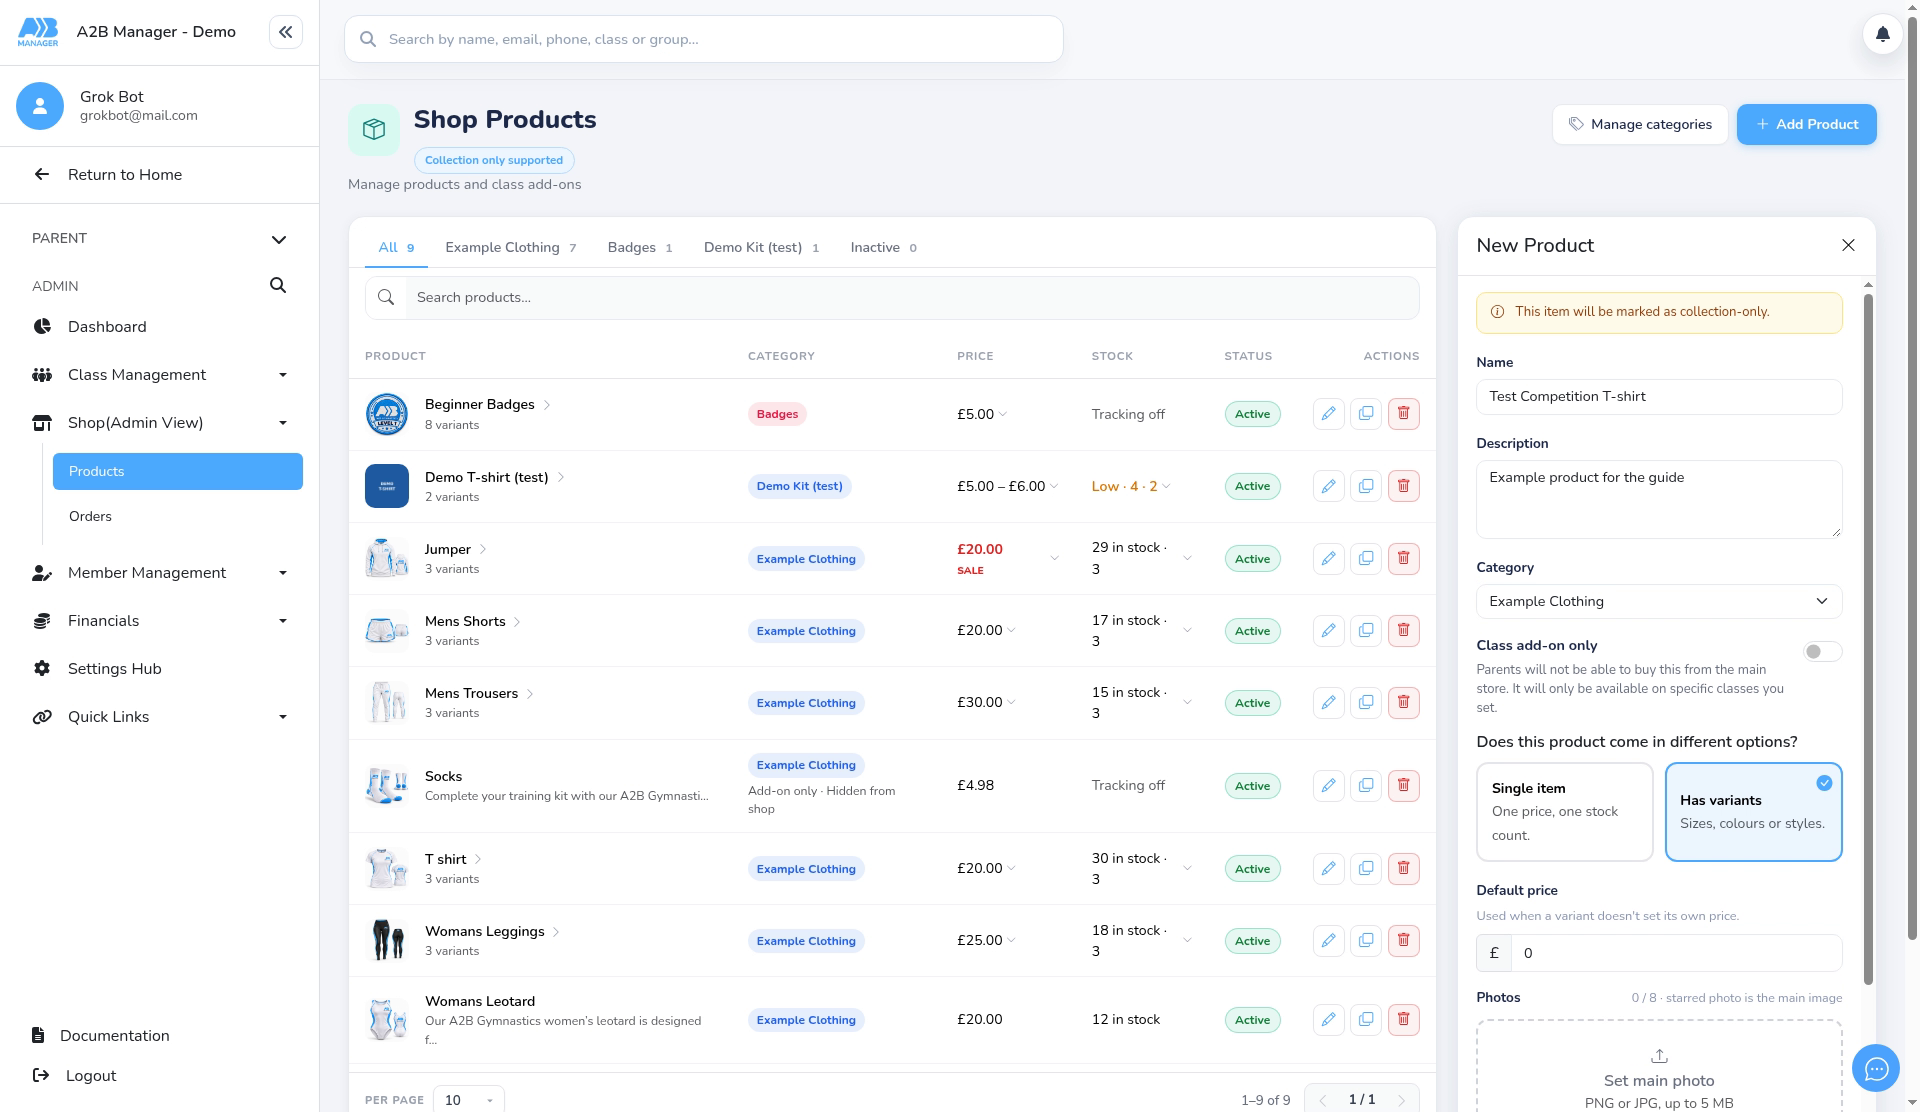
Step 4: Choose single item or variants (1:21) #
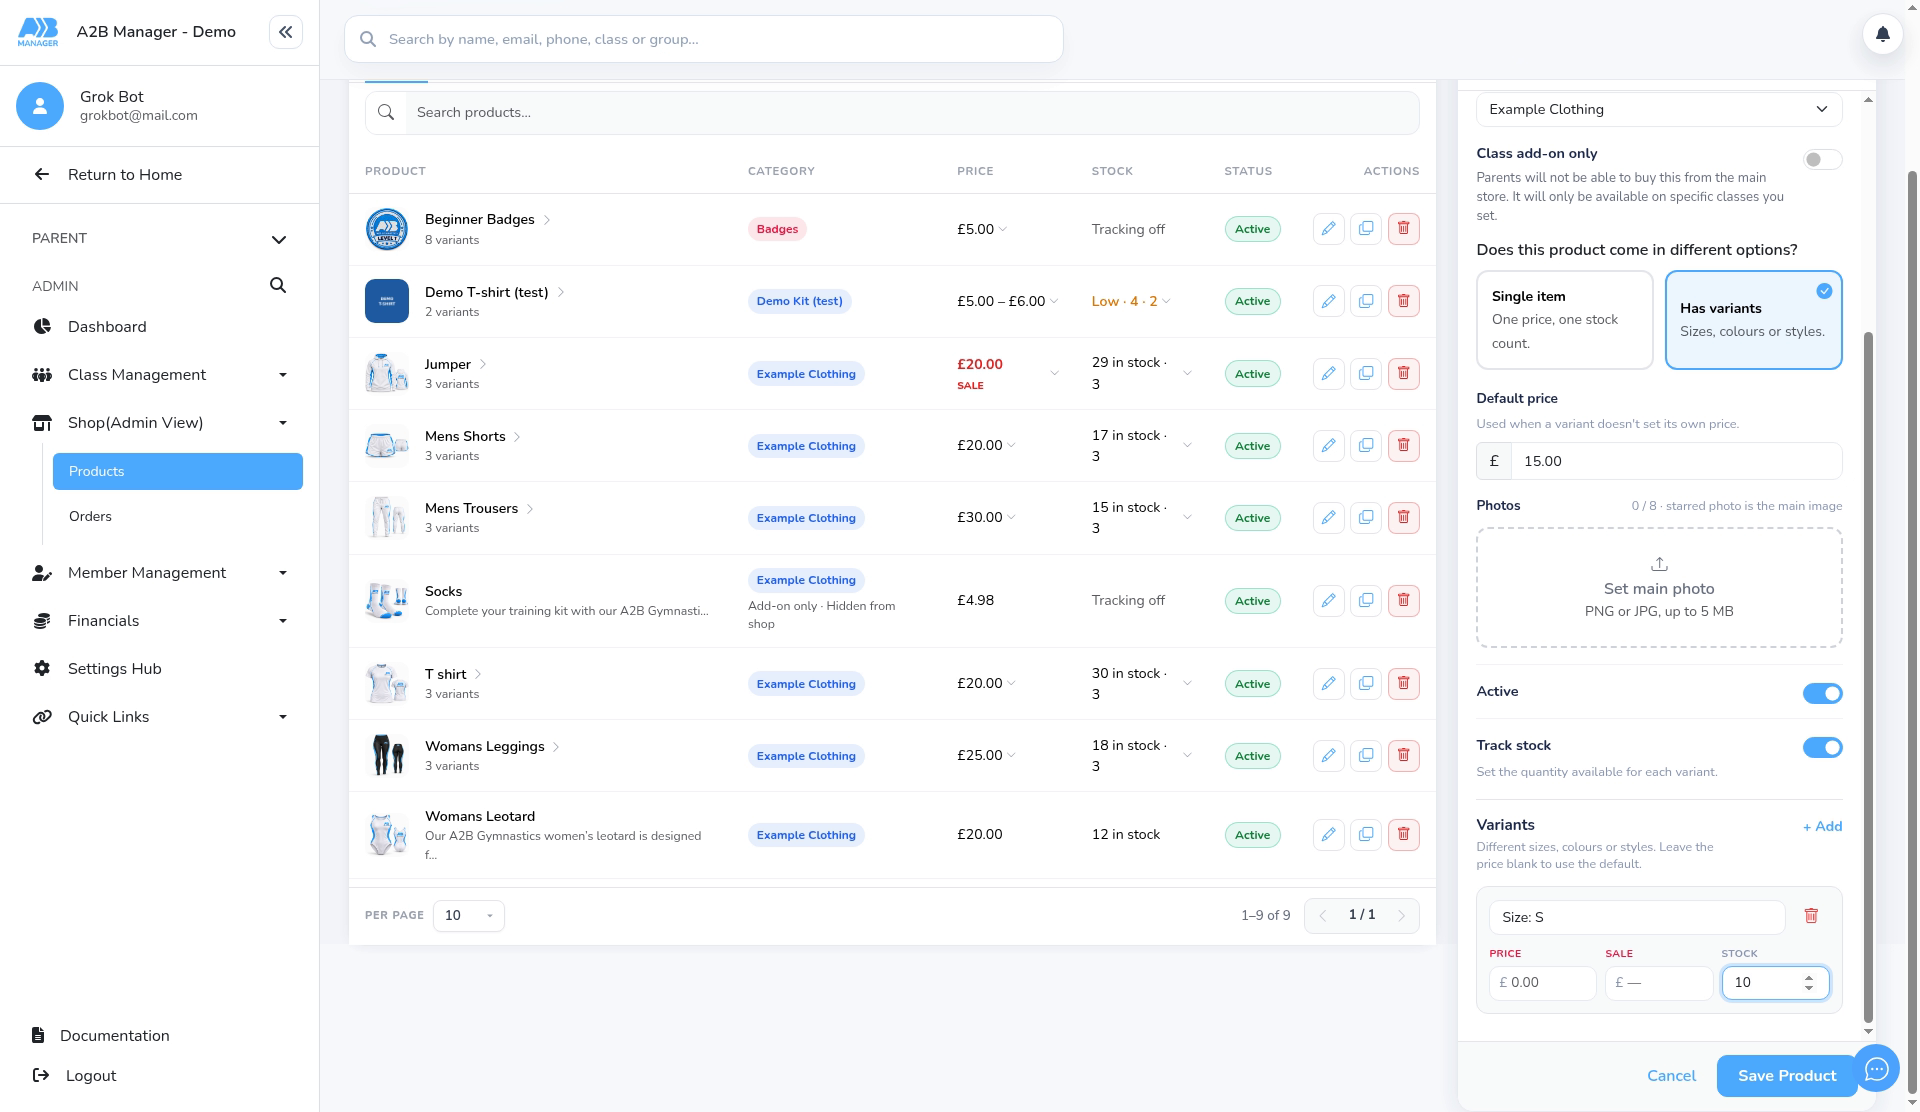
- Under “Does this product come in different options?”, choose Single item (one price, one stock count) or Has variants (sizes, colours or styles).
- For variants, set a Default price. It’s used when a variant doesn’t set its own price.
- Add up to 8 Photos (PNG or JPG, up to 5 MB). The starred photo is the main image.
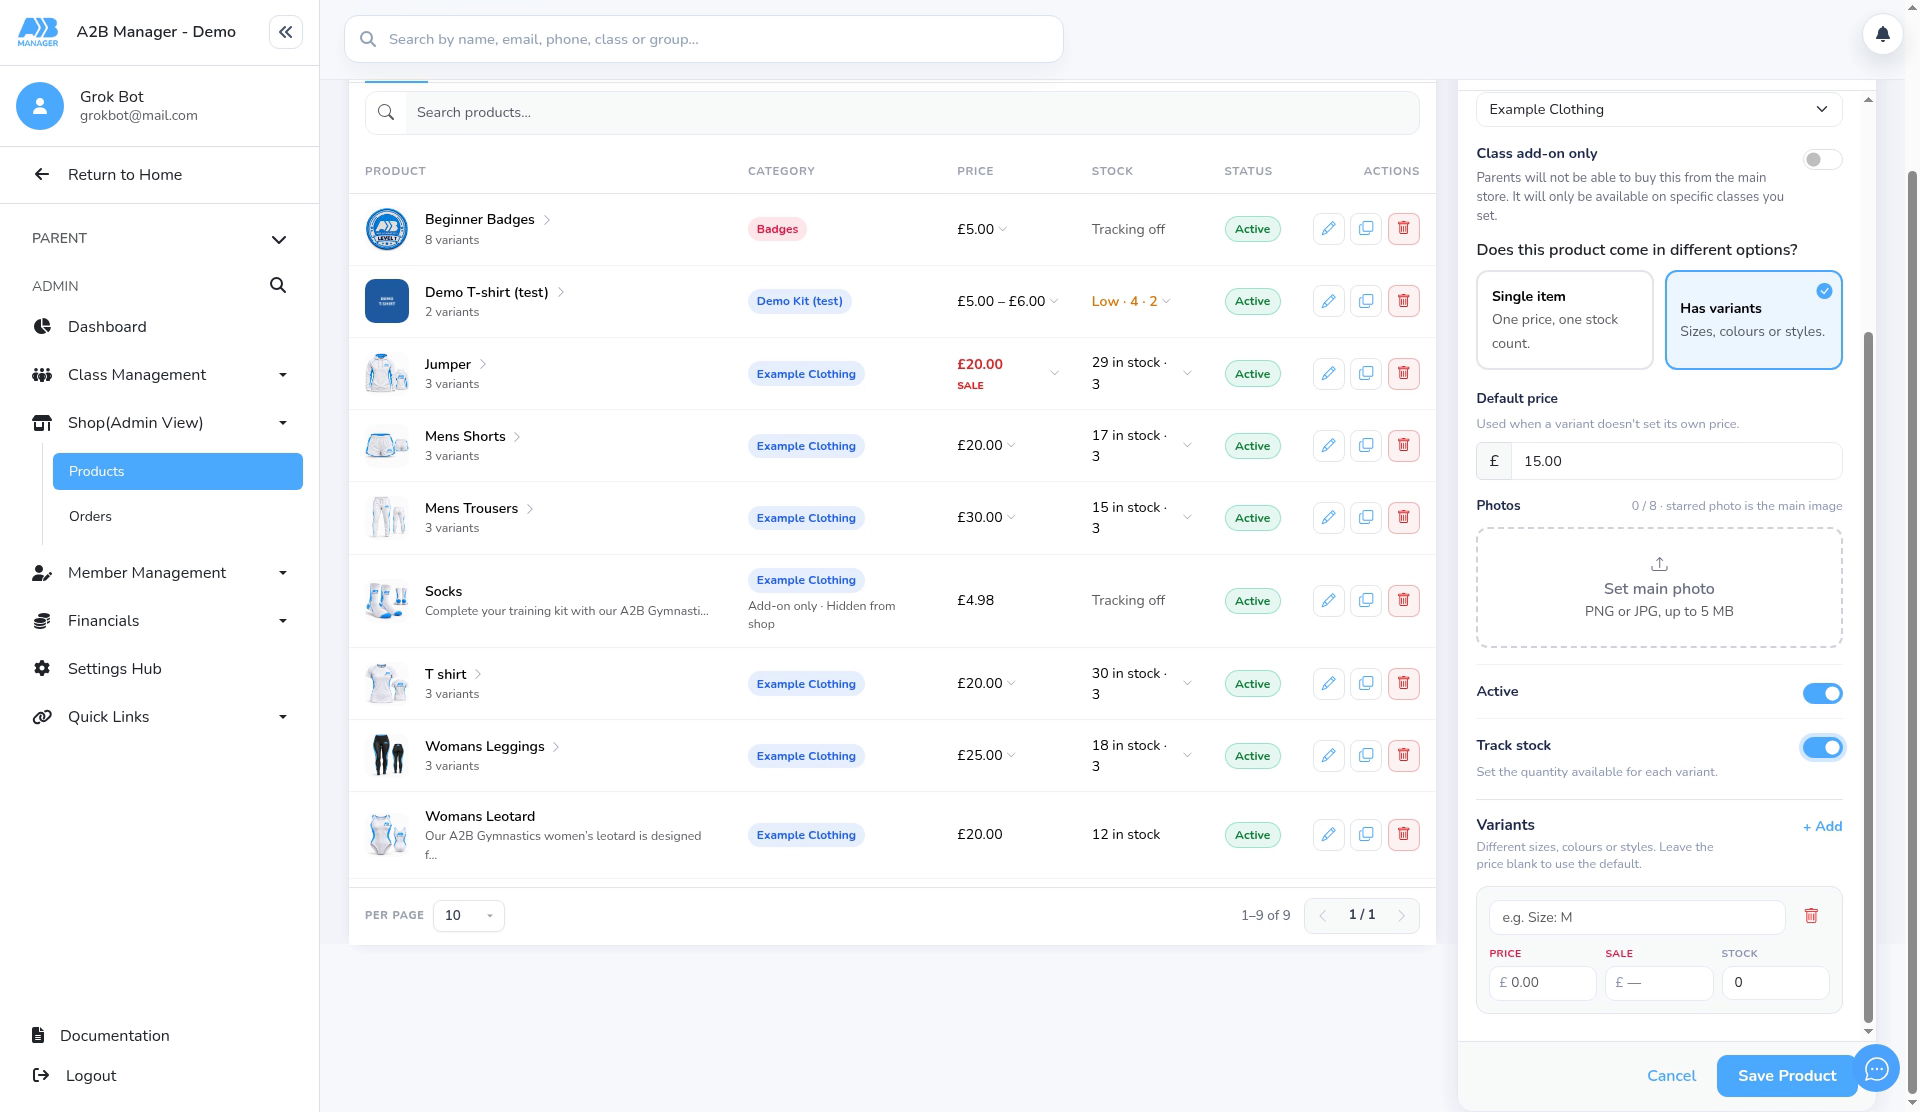
Step 5: Set availability, add variants and save (1:59) #
- Turn on Active so parents can see and buy the product.
- Turn on Track stock to count stock for each variant.
- Under Variants, click + Add for each option. Enter its name (for example Size S), Price (leave blank to use the default), Sale price if it’s on sale, and Stock.
- Click Save Product.
Single items #
- For a product with no options, such as a water bottle, choose Single item. Enter the Price and, with Track stock on, the Stock.
- Turn on On sale and enter a Sale price lower than the price. Parents see the original price crossed out.
Good to know #
- Click a product in the list, or hover its price or stock, to see each variant. Variants on sale show a SALE badge.
- Use Edit to change a product, for example to put a variant on sale. Duplicate makes a copy.
- Delete asks you to confirm, then removes the product from the shop.
- Class add-on only hides a product from the shop so it’s only offered with chosen classes. You can set a maximum quantity per student.
- Use the category tabs, search and filter to find products.


